

 by
by The basic options of VMware Workstation virtual computer are as follows. In this article, we will talk about the basic concepts of using the VMware Workstation tool. We will explain these options one by one.
“Settings” Option
Right-click the virtual machine and click “Setting” to open a new window.

These windows show two tabs “Hardware” and “Options“.
Hardware Tab
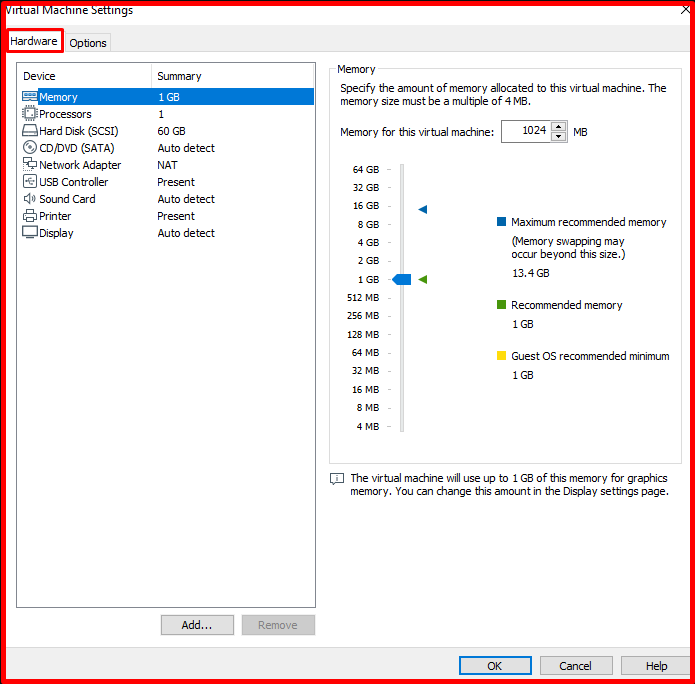
The RAM setting of the virtual machine can be performed with the “Memory” device. A low RAM size will cause the virtual machine to run slowly. Excessive RAM size may cause unnecessary fatigue of the physical machine. The RAM change can not be performed while the virtual machine is turned on.
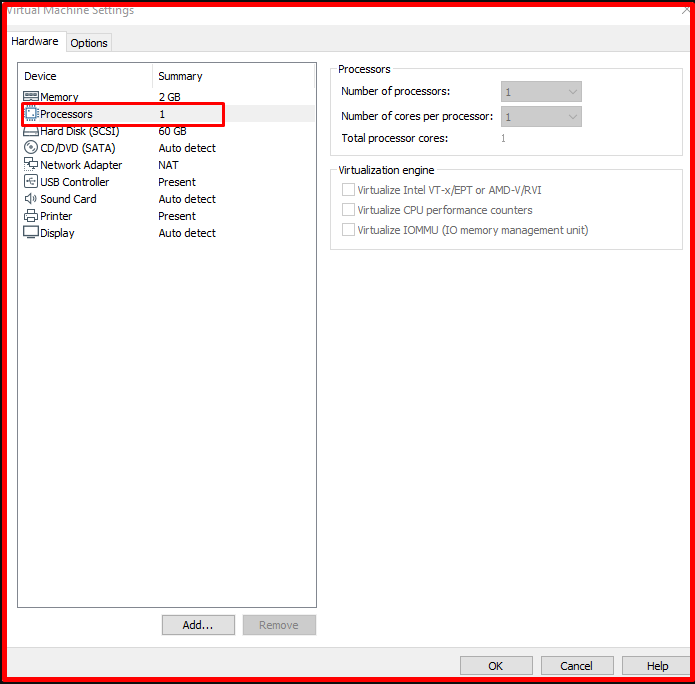
The processor setting is done with the “Processors” option. Similar to the RAM setting, the processor needs to be set accordingly. The processor setting cannot be changed while the virtual machine is on.
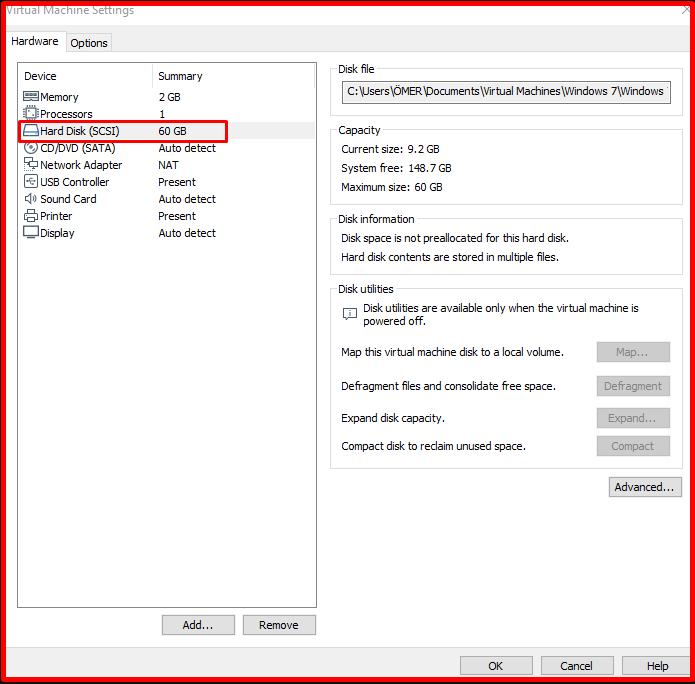
The disk setting is configured with the “Hard Disk(SCSI)” option. Currently, it is stated that the virtual machine will occupy a maximum of 60 GB.
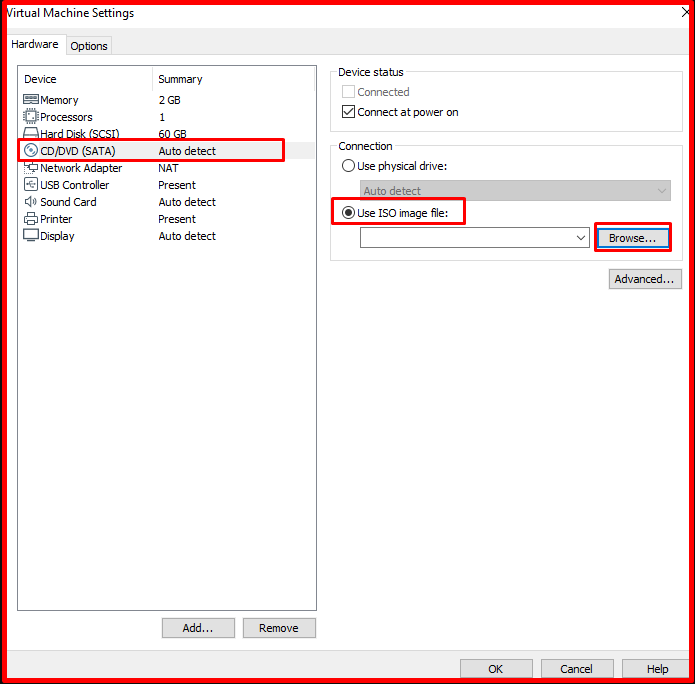
The CD/DVD setting is performed with the “CD/DVD (SATA)” device. You can transfer an ISO file from the physical machine to the virtual machine by selecting the “Use ISO image file” device on the right and clicking “Browse…”.
Network setting is done with the “Network Adapter” option. I will write the network configuration in another topic in detail.

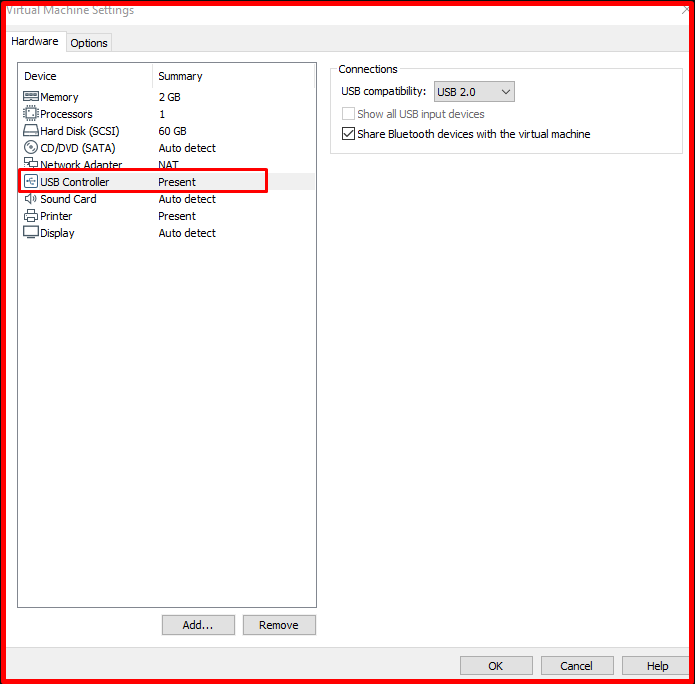
You can set the USB setting in the “USB Controller” option. Thşs device can be used for data transfer. By selecting “Share Bluetooth devices with the virtual machine” on the right, you activate the Bluetooth device. İf you select “Show all USB input devices“, you can show all USB input devices.
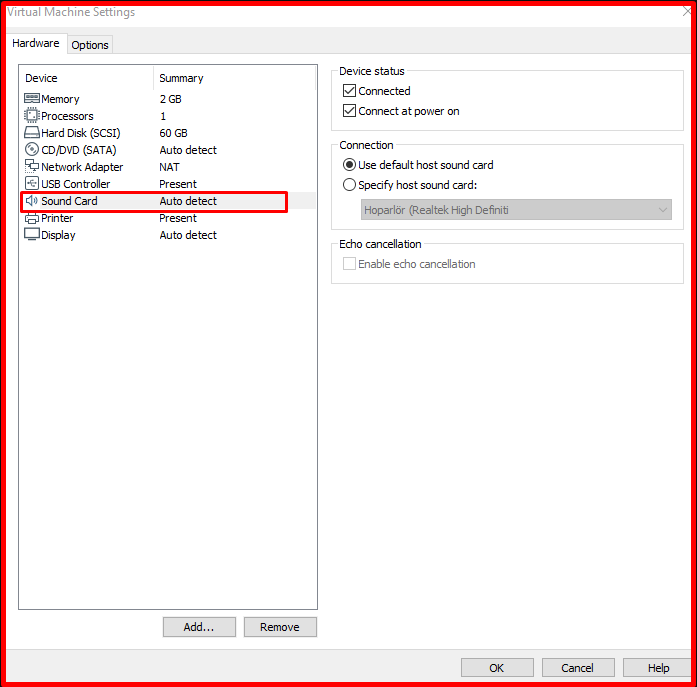
The sound card setting is performed with the “Sound Card” device. You can enable or disable the volume setting in the “Device status” option on the right.
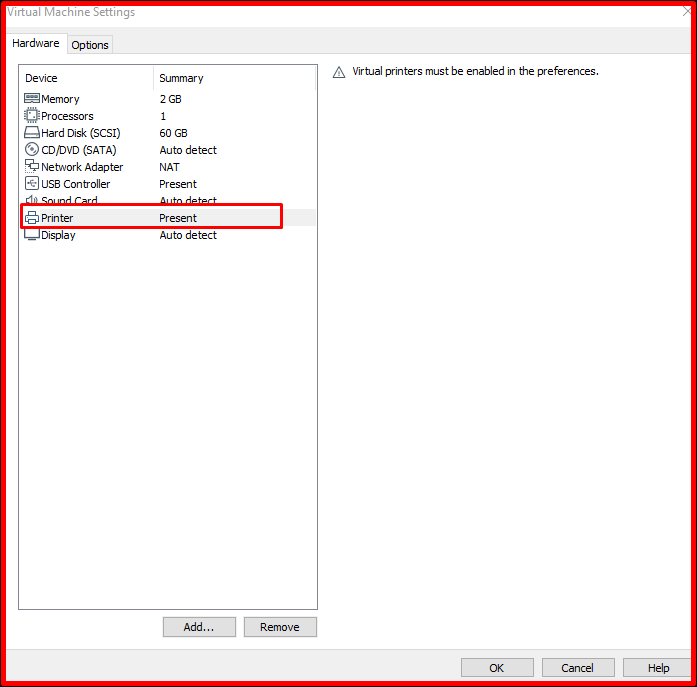
The printer setting is done with the “Printer” option.
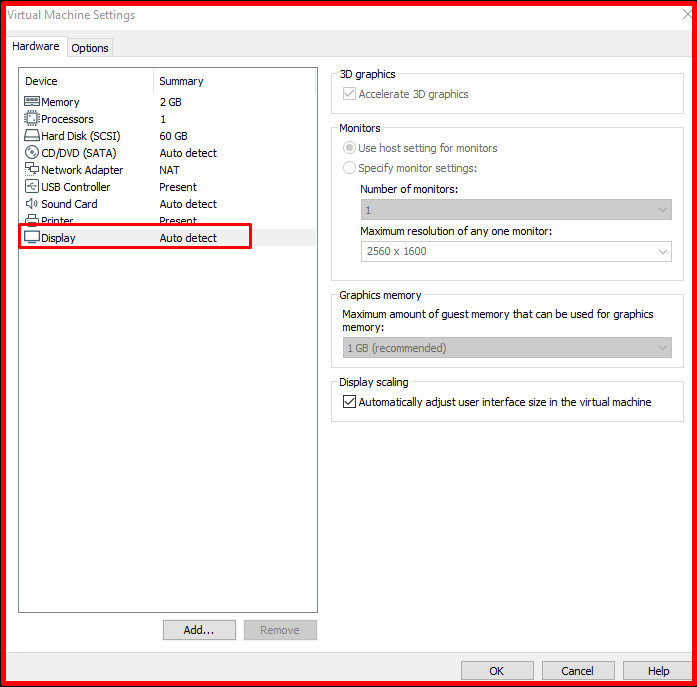
The display setting is done with the “Display” option. The “Monitors” tab on the, “Use host setting for monitor” option allows your physical computer to use the monitor setting.
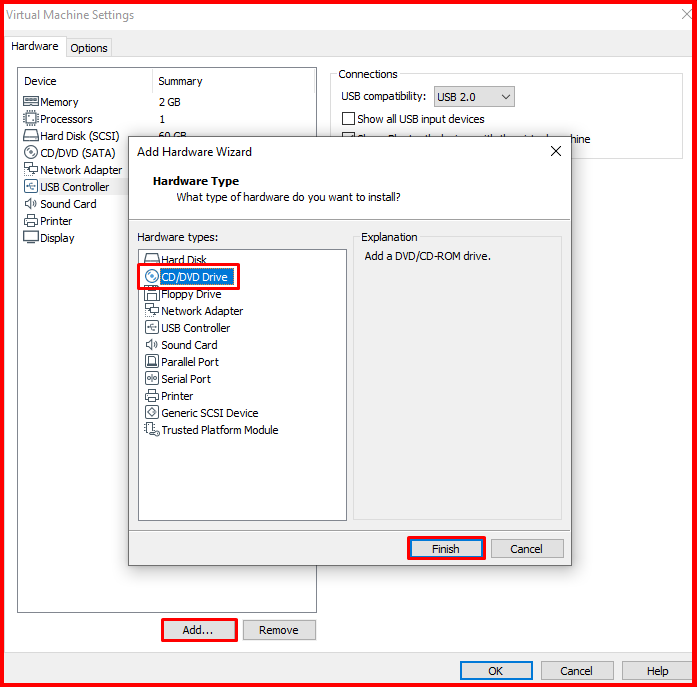
To add a new device, the “Add” button under the existing tab can be used. In the add hardware wizard that opens, select the desired device. If there are subsequent steps, you can add them by selecting the settings you want.
Options Tab
With this option, an advanced configuration setting of the virtual machine can be performed. This option is not used much.

Snapshot Option
One of the most important benefits of the virtualization system is the easy return to a predetermined point during an error. With the “Snapshot” feature, you can return the virtual processor.
To take a snapshot, you can follow the step “Snapshot > Take Snapshot…”

In the window that opens, name and description information is entered and the “Take Snapshot” button is clicked.

Note: Turning off the virtual machine when the snapshot is taken will allow snapshot files to take up less space on the virtual machine. If it is not absolutely necessary, it is recommended not to take a snapshot of the machines while they are on.
You can follow the “Snapshot > Snapshot Manager” step for monitoring and managing snapshots. As shown below, the snapshot of our client named “systemconf computer” was created.

If the desired snapshot is selected in this window and the “Go To” button is clicked, it can be returned to the state where the relevant snapshot was taken. Similarly, clicking the “Delete” button will delete the corresponding snapshot.


