Cisco Packet Tracer (CPT) is a free network simulator program developed by Networking Academy. You can download and use this program on your Netacad website or from this link.
How to Install Packet Tracer on Ubuntu?
The 7.2.2 version of Packet Tracer was released for download on Netacad on September 11, 2019. Although this is a maintenance release, it removes dependent Java files for Skills Assessment.
Networking Academy has prepared a Setup GUI to make it easier to install CPT on Linux systems. Old versions were downloading as tar.gz, now the file extension of the CPT is .run.
When installing Packet Tracer Cisco simulator software on your Linux computer, you should definitely install the libpng12 file. Otherwise, after installation, it will not react when you try to run the program.
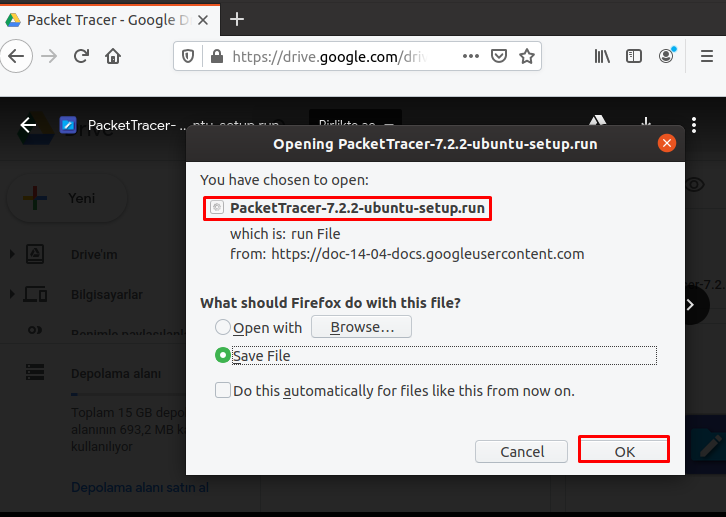
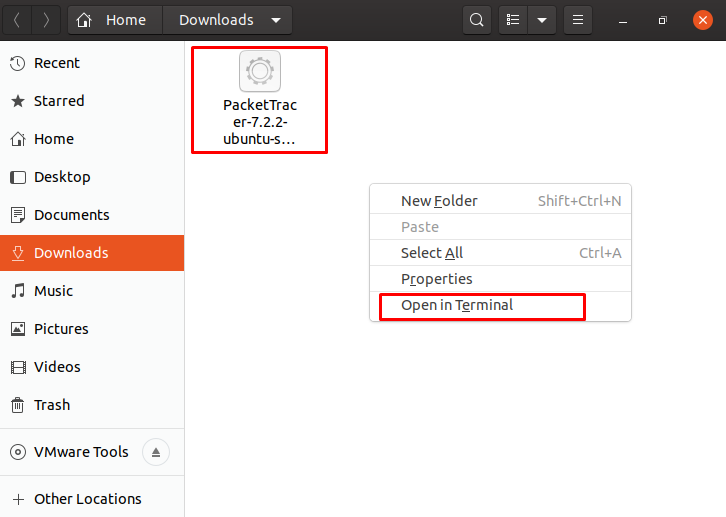
After downloading the program to your computer, open the terminal in the “PacketTracer-7.2.2-ubuntu-setup.run” folder.
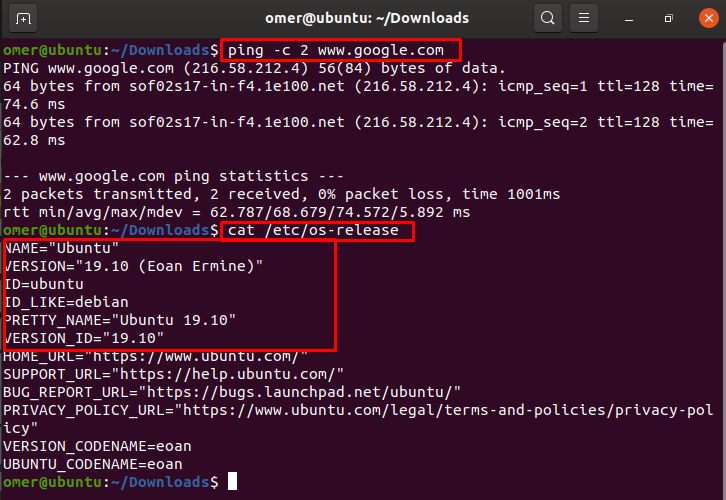
First check your internet connection and check the Ubuntu system version with “cat / etc / os-release” command.
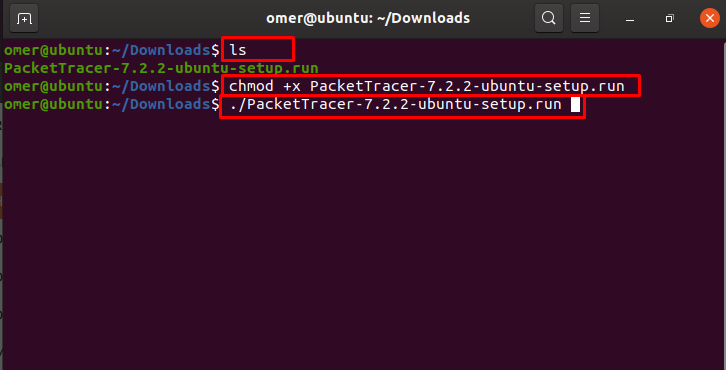
After configuring the file permission, run the following command in the terminal to start the upload.
chmod +x PacketTracer-7.2.2-ubuntu-setup.run
./PacketTracer-7.2.2-ubuntu-setup.run
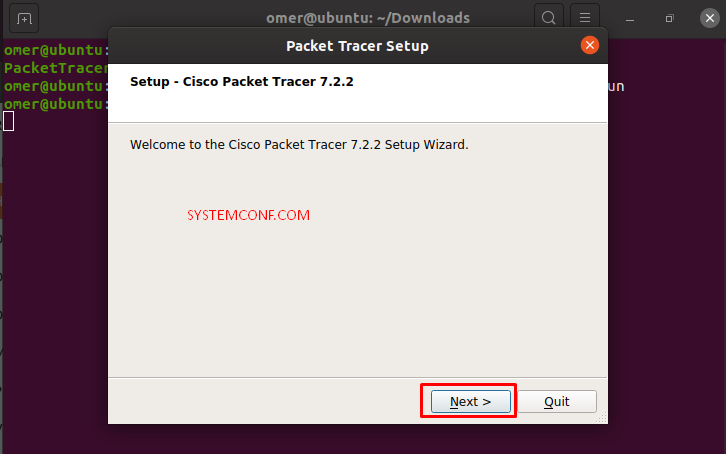
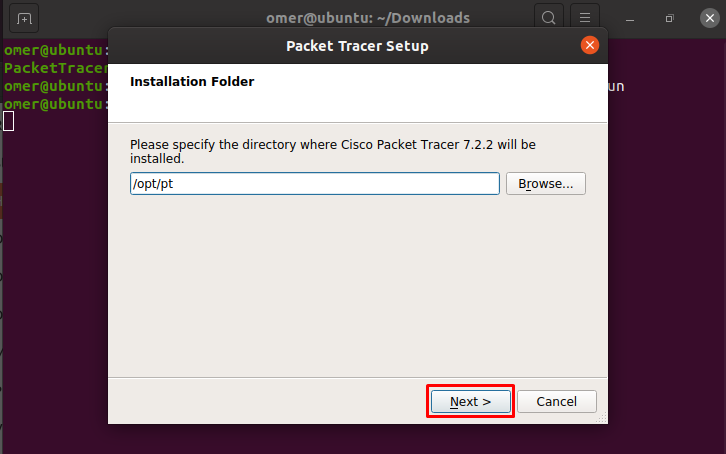
Do not change the default location in the Installation Folder window and continue by clicking the “Next” button.
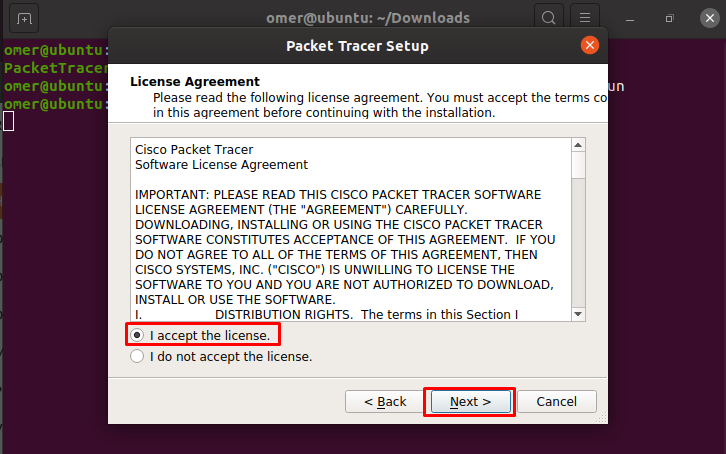
After reading the license agreement of Packet Tracer, accept it and continue by clicking “Next”.
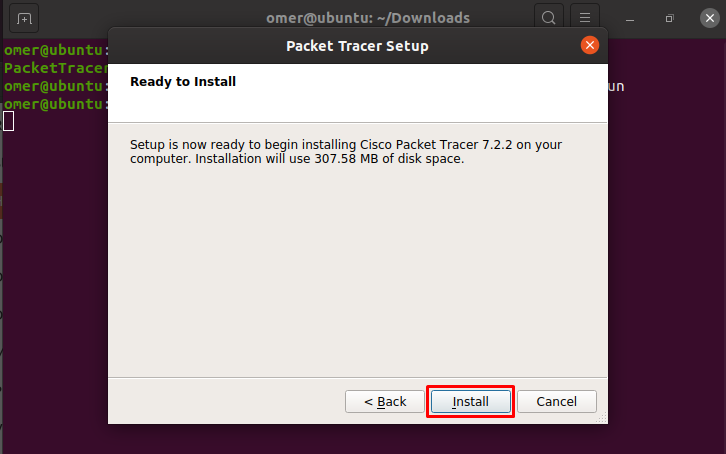
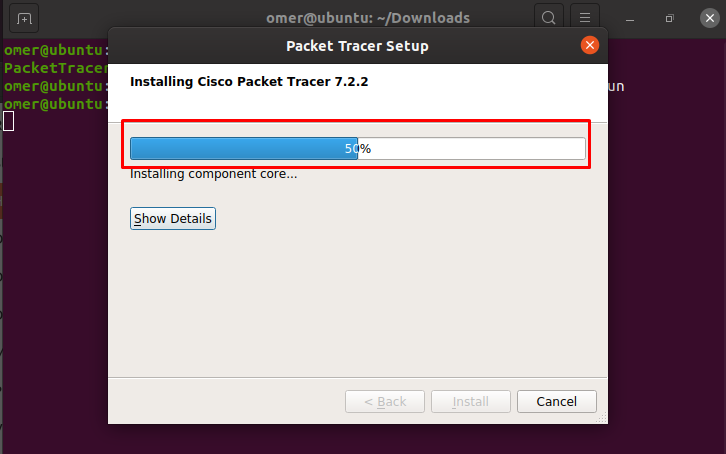
Click “Install” to start the installation.
After entering the “root” password, continue by pressing the “OK” button.
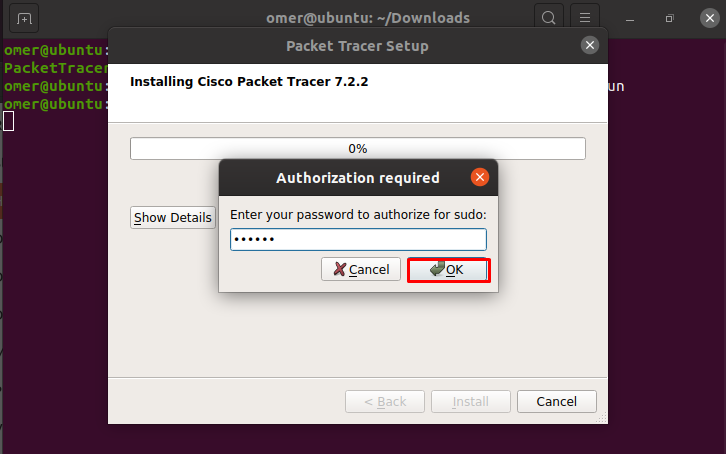
After completing the installation process, click on “Finish”.
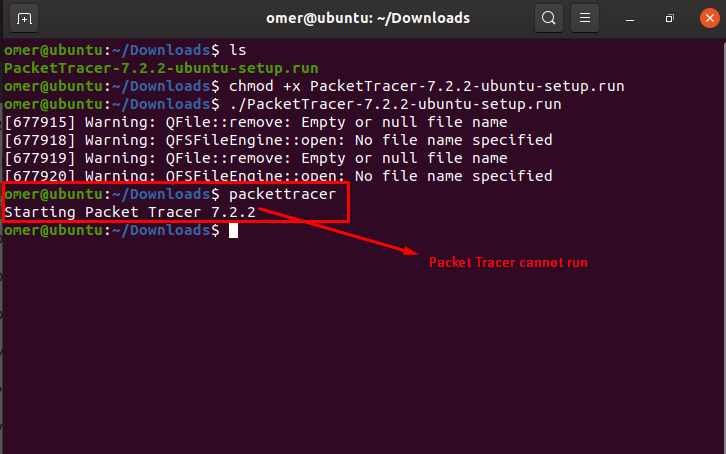
Type “packettracer” and press Enter to run CPT in Terminal.
You can examine that Packet Tracer could not be started from the image below. This is because dependent packages for CPT are not installed.
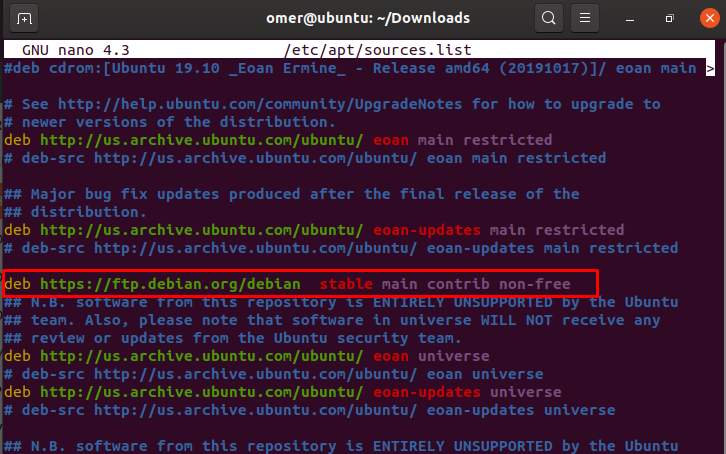
Open the Ubuntu sources list with the command “nano /etc/apt/sources.list” and add the address below to the list and save the file. Save file command = (Ctrl+x and Y)
sudo nano /etc/apt/sources.list
deb https://ftp.debian.org/debian stable main contrib non-free
Update the Ubuntu repository list using the apt-update command.
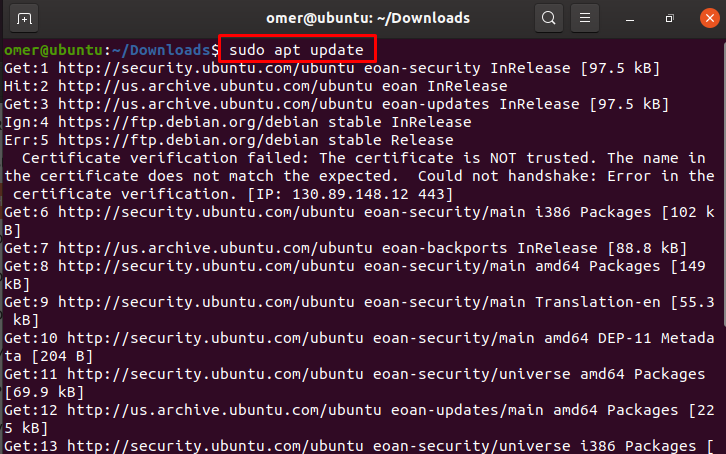
One of the most important dependent packages for Packet Tracer is “libpng”. To download “Libpng”, run the command below in the terminal.
wget https://ftp.us.debian.org/debian/pool/main/libp/libpng/libpng12-0_1.2.50-2+deb8u3_amd64.deb
If the certificate fails, you can enter “wget https://ftp.us.debian.org/debian/pool/main/libp/libpng/libpng12-0_1.2.50-2+deb8u3_amd64.deb –o-check-certificate” command.
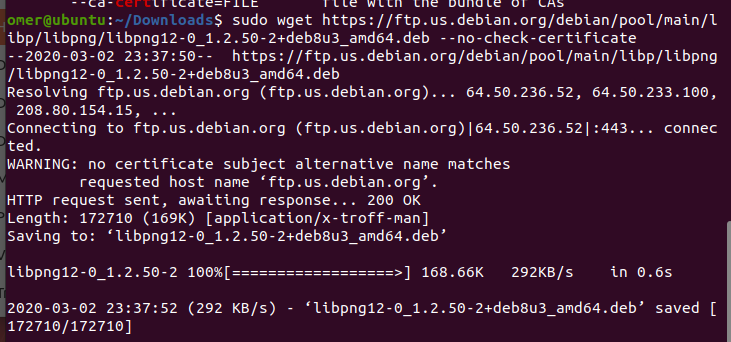
Run “dpkg -i libpng12-0_1.2.50-2 + deb8u3_amd64.deb” to start the “libpng” installation on Ubuntu.
dpkg -i libpng12-0_1.2.50-2+deb8u3_amd64.deb
While installing Libpng, you may get an error in the terminal like below because the “multiarch-support” package is required for this software to work.
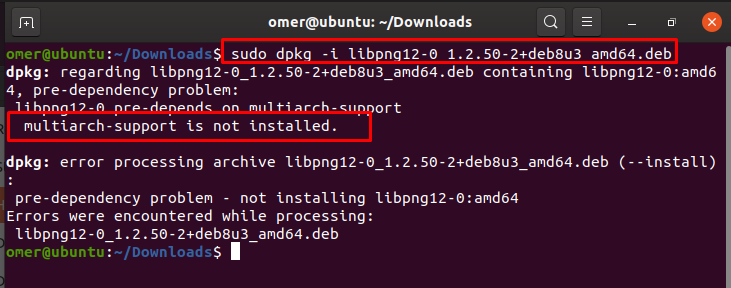
Run the “apt install multiarch-support” command to install the “multiarch” package in Ubuntu.
apt install multiarch-support

After trying to install “libpng” again, you will see that the process was successful. Try to run the simulator program with the “packettracer” command in the terminal.
Now Packet Tracer runs smoothly in Ubuntu.


