by
by We install the Ansible open source automation tool on CentOS 8.
Ansible Installation
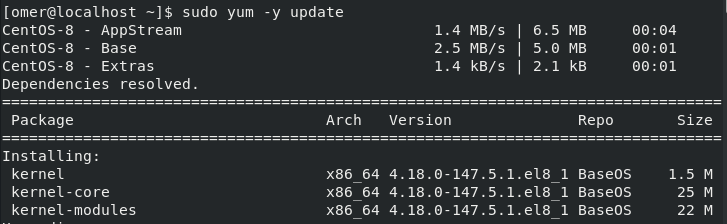
Let’s run the CentOS operating system repository update commands.
sudo yum -y update
We install Epel-Release packages on our Server.
sudo yum -y install epel-release

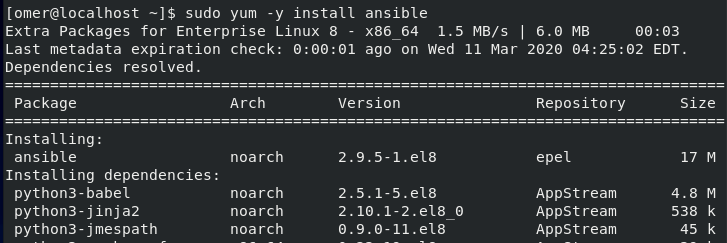
Enter the following command to install the Ansible package.
sudo yum -y install ansible
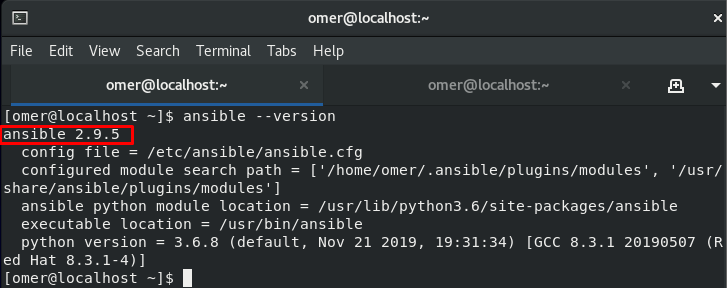
After running the ansible command, we run the command below to test the installation and find out the installed version.
ansible --version
Ansible’s Configuration
We are editing the hosts file in “/ etc / ansible /” directory. In this file, we define information such as username, password, connection method etc. for the servers that we will manage with Ansible.
nano /etc/ansible/hosts

My inventory is as follows. You can also group your servers as Linux and Windows or as a database.
Note: You can completely delete the contents of the “Hosts” file after the initial installation, then you can define your servers from the beginning.

How will we set up the servers you will manage with Ansible?
For Windows systems, you can manage “winrm”, Linux systems or all systems that can be connected with ssh with “ssh”.
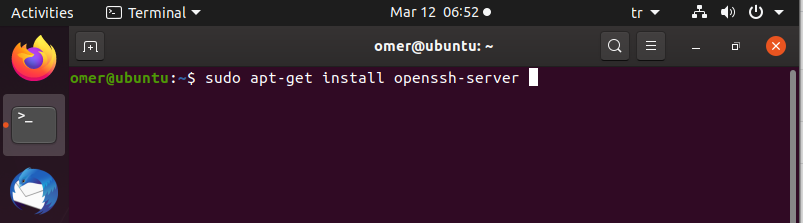
Let’s look at ssh definitions for Linux
If the ssh server is not installed, install it with the command below.
We will generate ssh keys on the ansible server with the following command and we will create trust by copying it to the client servers to which we will connect with the command below.
ssh-keygen

ssh-copy-id username@server_name
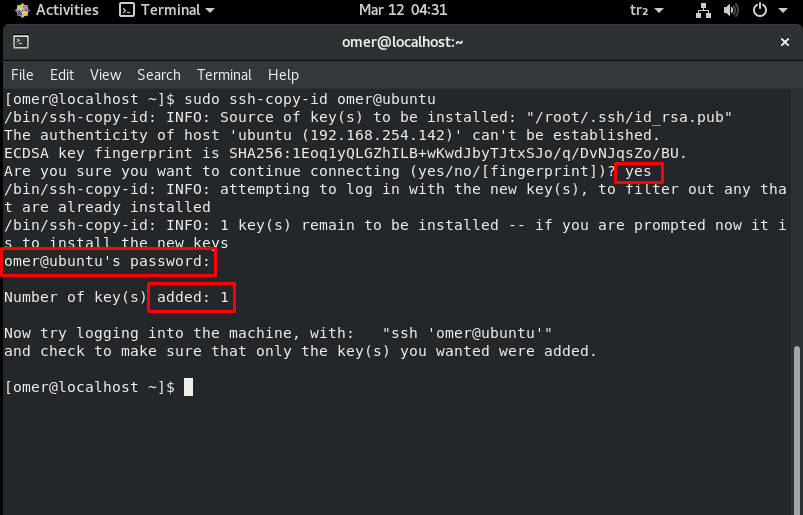
If the files “/root/.ssh” (in my omer user’s home directory) that we created with ssh-keygen, id_rsa to the .ssh directory in that user’s home directory with the above “ssh-copy-id” command, which user will connect to the target server, id_rsa.pub “files.
After completing these processes, you can simply test our connection by pinging the ansible server.
ansible all -m ping
“All” indicates all the servers in the ansible hosts file. But if you don’t want to control access to all of them, you can name the group in the “hosts” file.