 by
by I will show you how to install GenyMotion plugin on Android Studio development tool. As you know, most emulators work slowly and because of this situation, it is difficult to get the required performance while developing applications. The best way to solve this situation is to install Genymotion plugin. We have already written the installation of the Genymotion Editor.
NOTE: Installing the Genymotion plugin without installing Genymotion will not work. First, install the Genymotion from the link here.
Android Studio recognizes Genymotion
After installing Genymotion, let’s take a look at how we can get Android Studio to recognize it.
We open Android Studio and click Settings on the File tab.

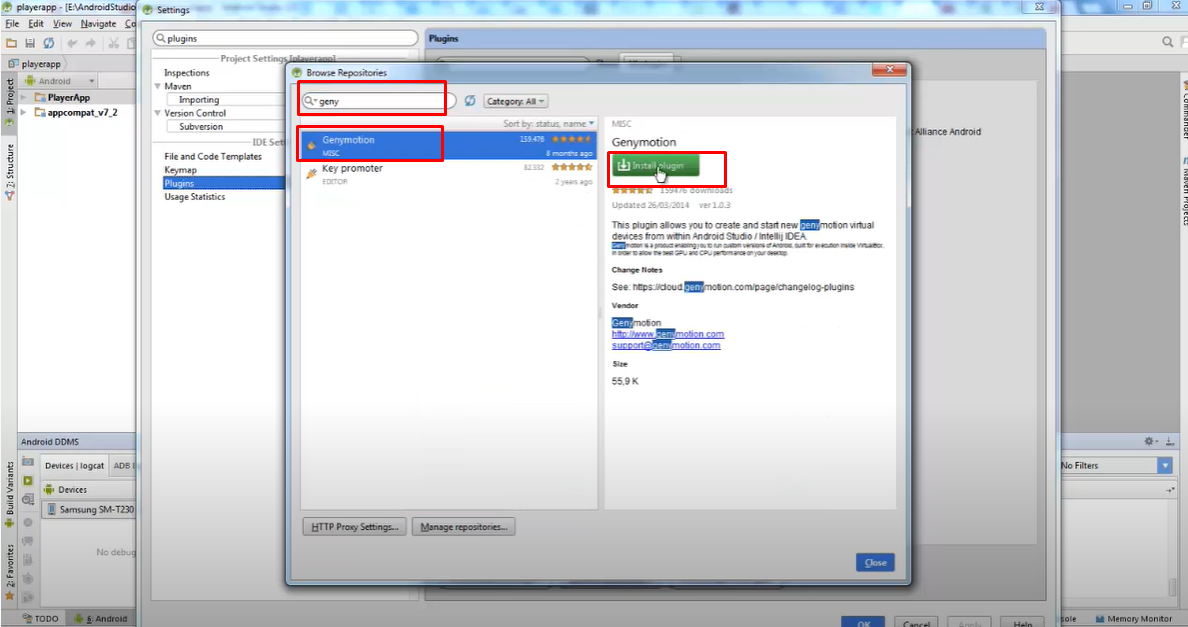
On the page we see, we select the “Plugins” tab in the left menu and click “Browse Repositories”.

As you can see, we come across a page with a search menu with many options, from here we find Genymotion, right-click and click “Install Plugin” and the Genymotion plugin is installed.
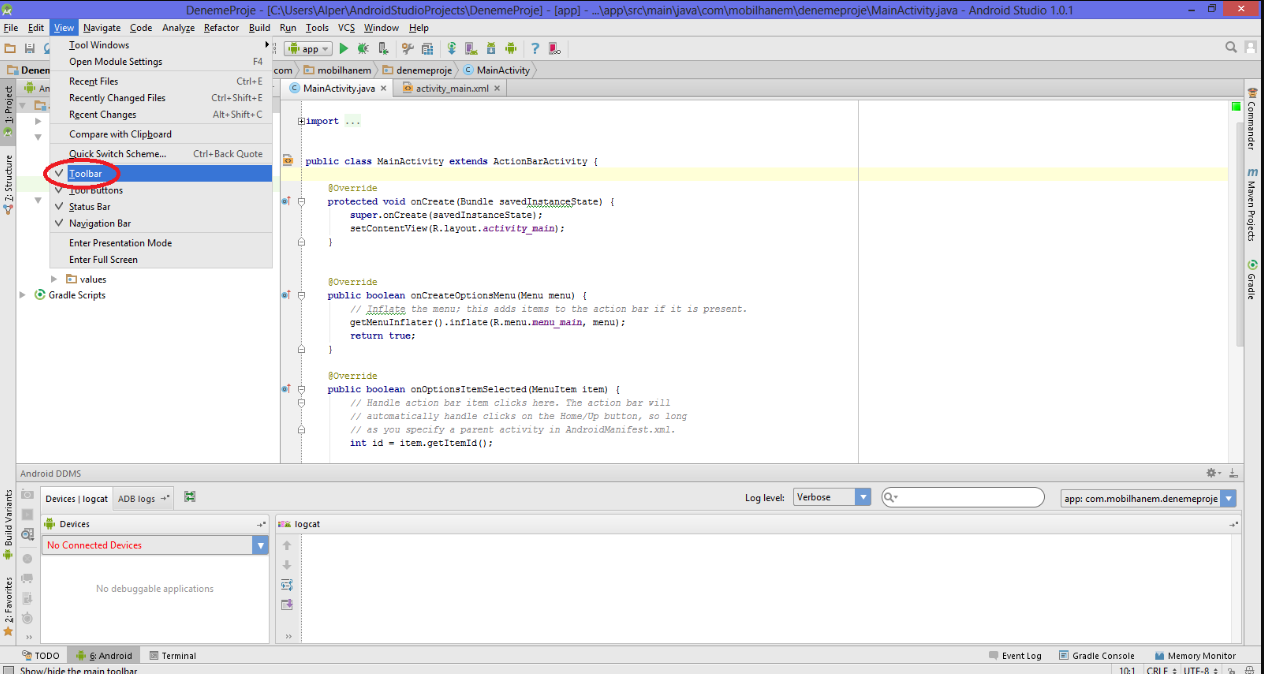
In order to see the Genymotion icon in our development tool, it is enough to select the Toolbar from the View section. As shown in the figure, we can create and use an emulator in the style we want from Genymotion Device Manager.
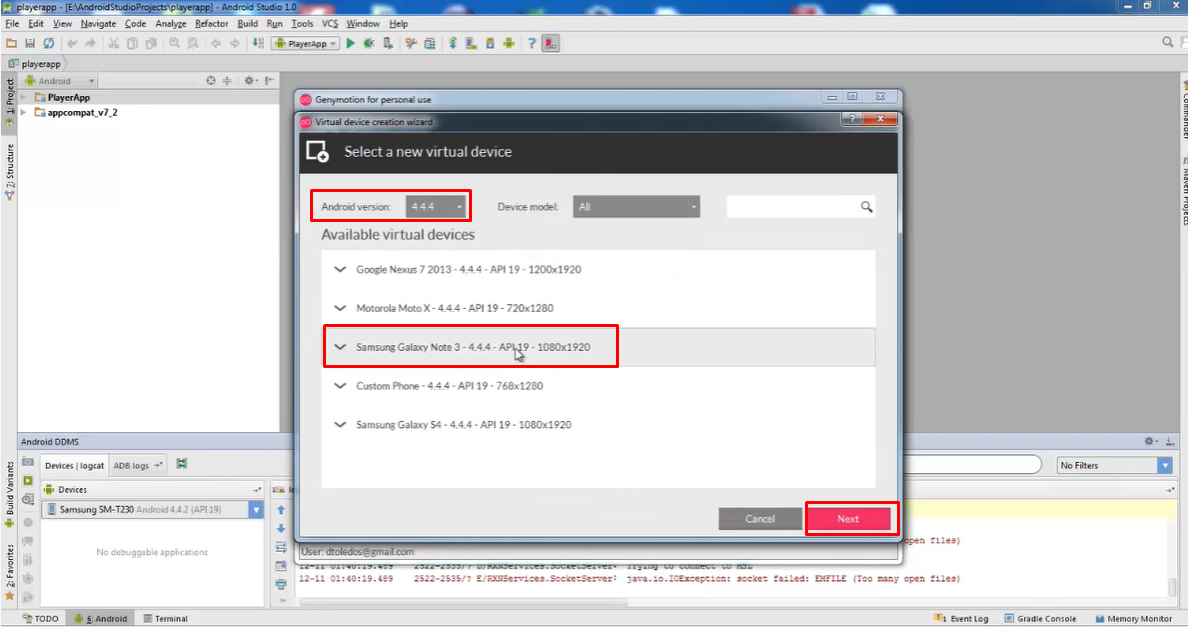
We have added Genymotion Device Manager as seen. We can add a new device by clicking on the plugin.
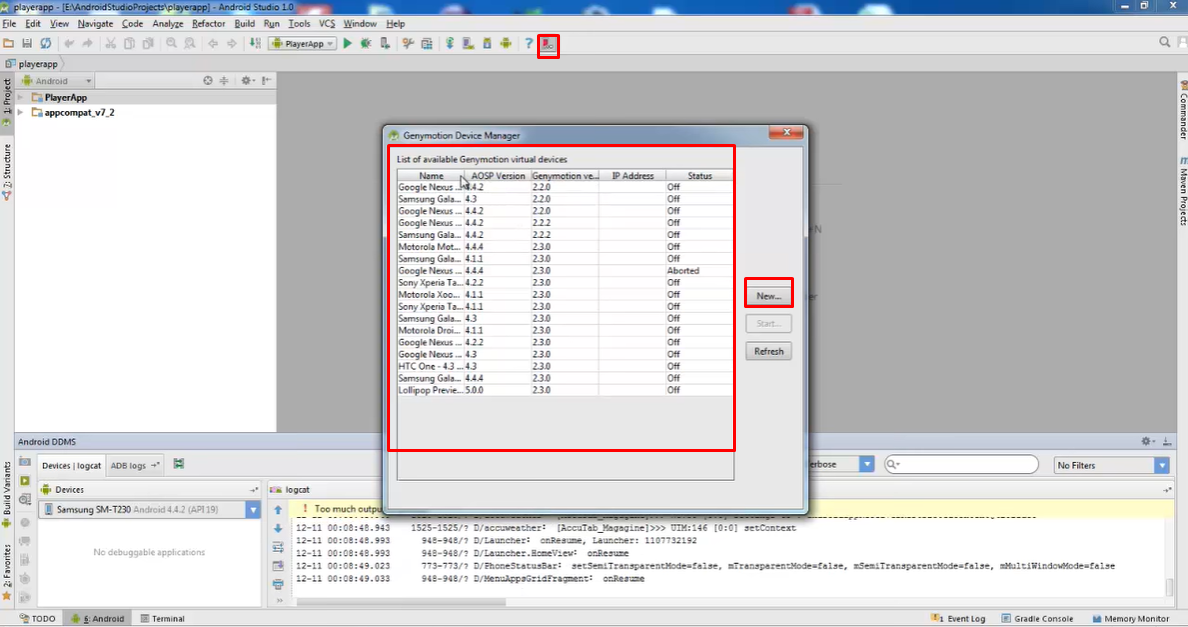
You can add the device you want by selecting the android version on this screen.
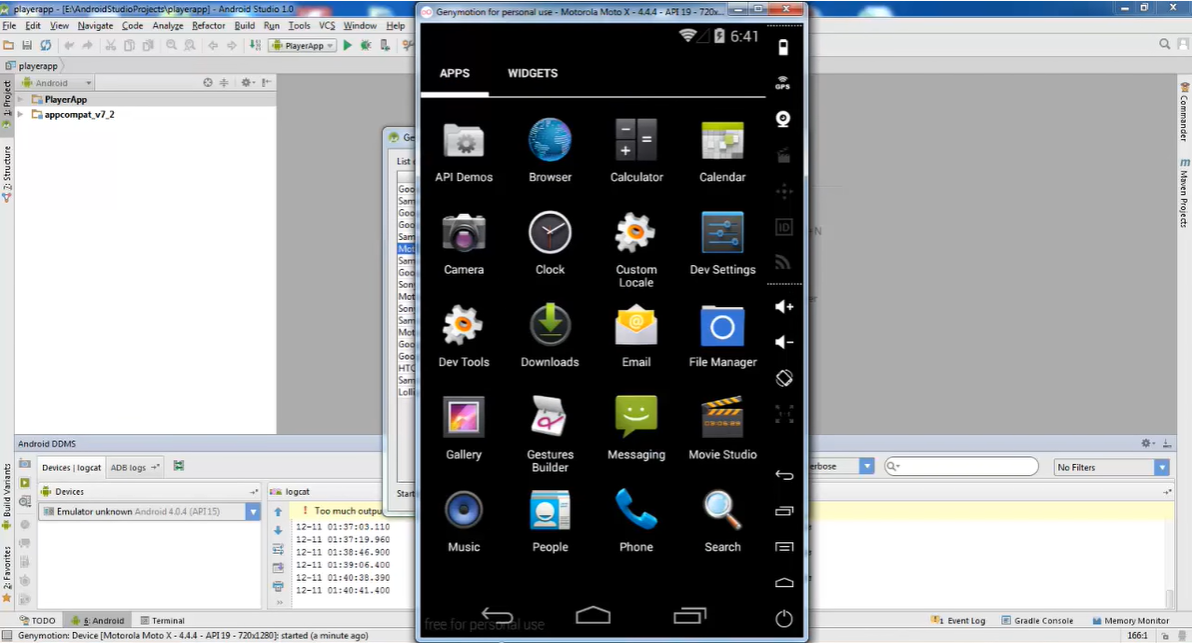
Select the desired device from the “List of Available Genymotion Device Manager” page and click the “start” button.
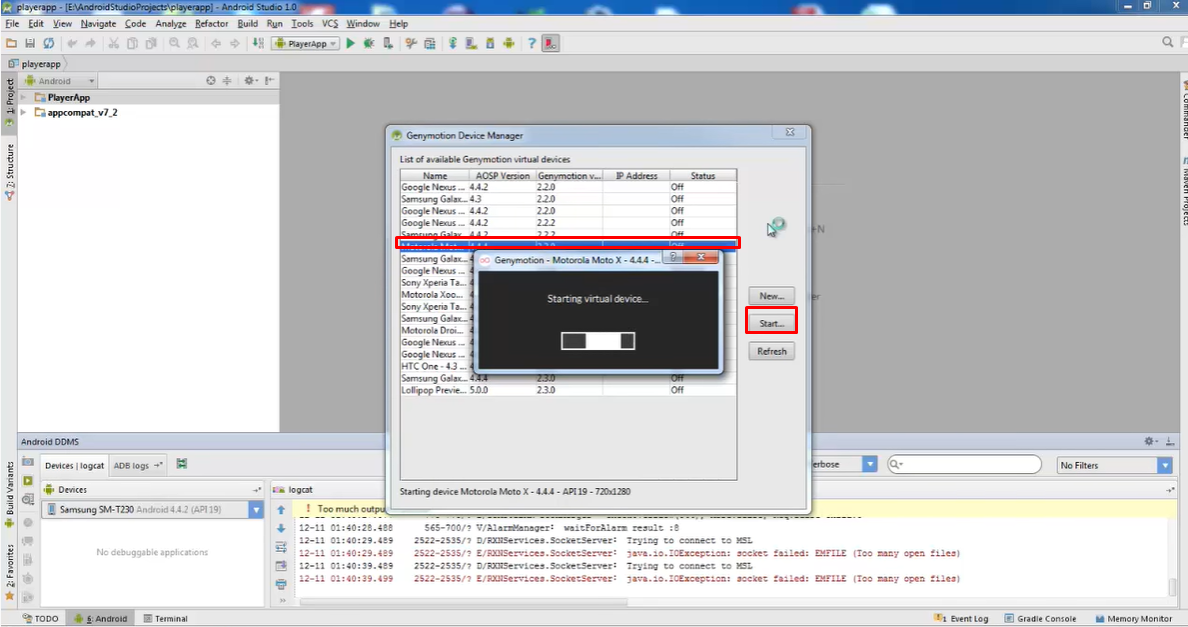
The device we want successfully has started.