Remote Desktop Services (RDS), known as Terminal Services in Windows Server 2008 and earlier, is one of the components of Microsoft Windows that allow a user to take control of a remote computer or virtual machine over a network connection. RDS is the application of Microsoft’s thin client architecture where Windows software and the entire desktop of the computer running RDS can access any remote client machine that supports the Remote Desktop Protocol(RDP). The user interfaces are displayed from the server to the client system, and the input from the client system is transmitted to the server where the software execution takes place.
With the Windows Server 2008 operating system, the terminal server feature that we frequently use with Windows Server 2012 was edited with RDS and started to be offered as Remote Desktop Services under the Server manager. How to setup and configure RDS for Windows Server 2019, in this article, I will be telling you about this service.
WINDOWS SERVER 2019 RDS INSTALLATION
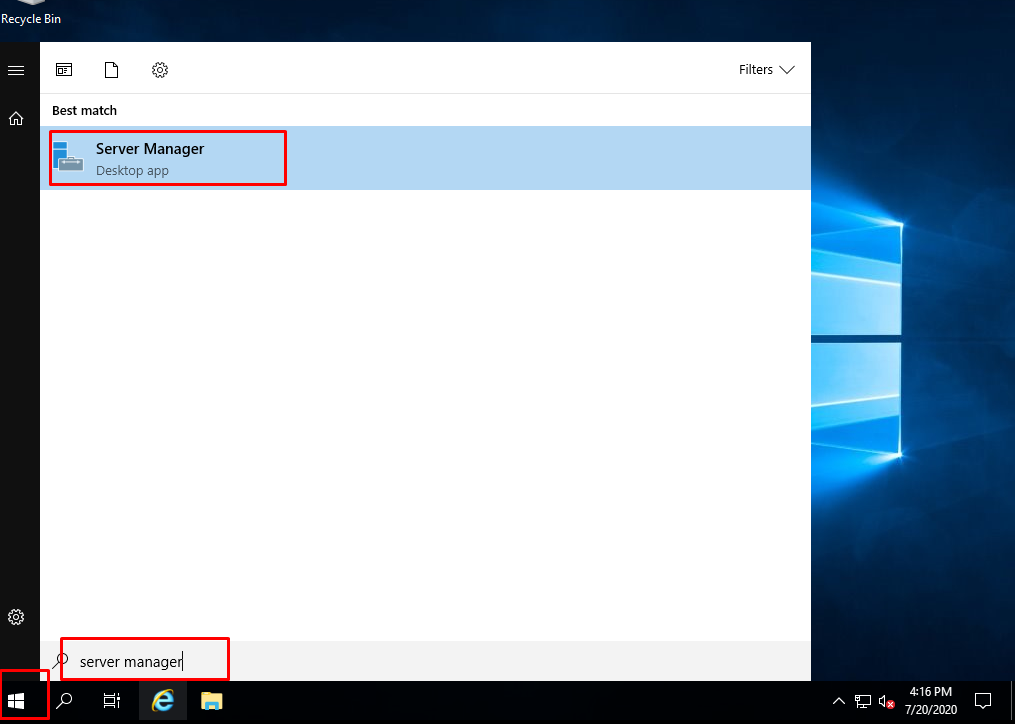
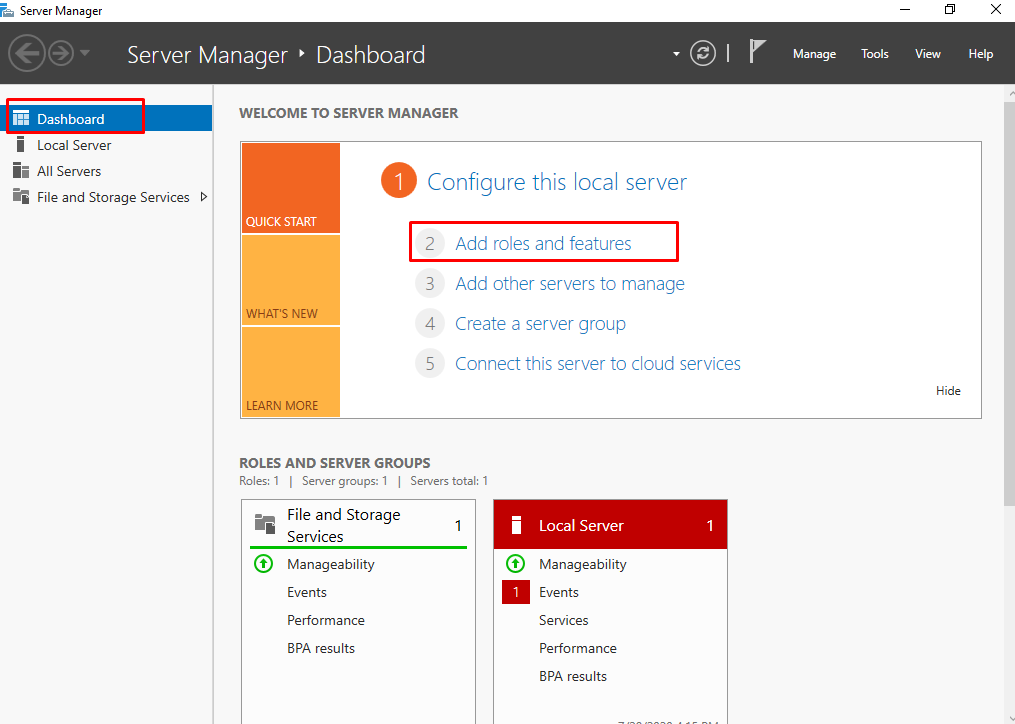
We open our “Server Manager” Dashboard.
We click on the “Add roles and features” menu in the middle of the Server Manager Dashboard.
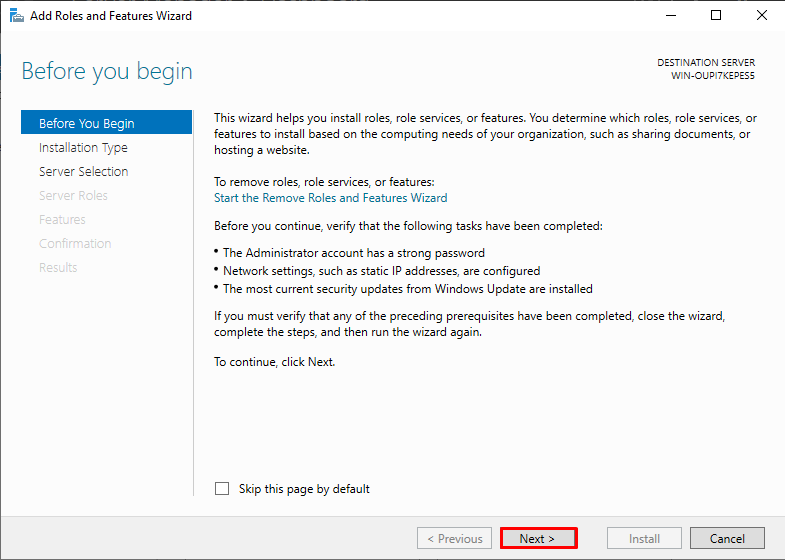
“Before you begin” welcomes you as the first step in the “Add Roles and Features Wizard” window that opens. By pressing the “Next” button, we start our pre-configuration for role installation.
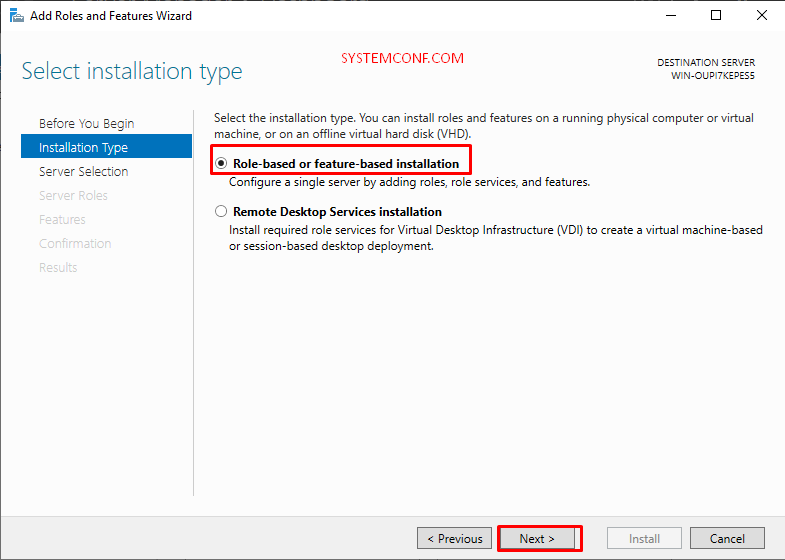
In the “Installation Type” section, we select “Roles-Based 0r feature-based installation” and press the “Next” button.
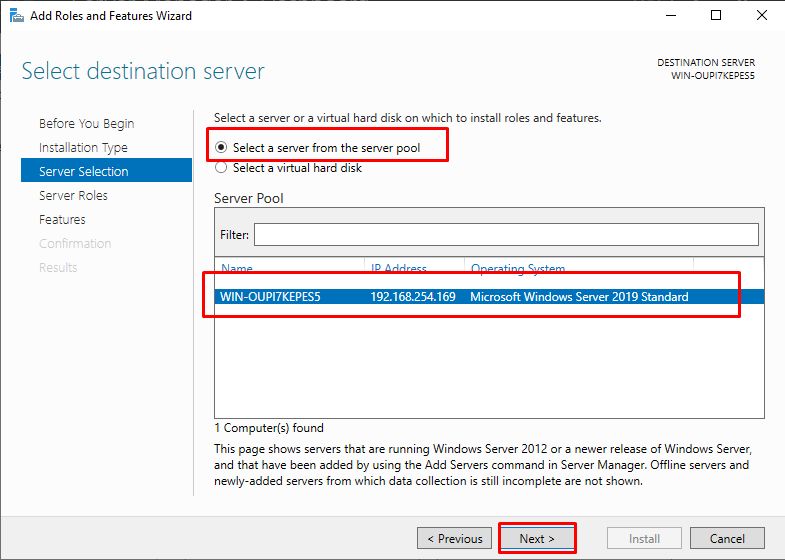
In the “Server Selection” step, if you are managing multiple servers through “Server Manager”, select the server to install from the server pool section. If you do not manage your other servers through the Server Manager, the server you are already processing will be selected by default. After the server selection process is completed, click the “next” button.
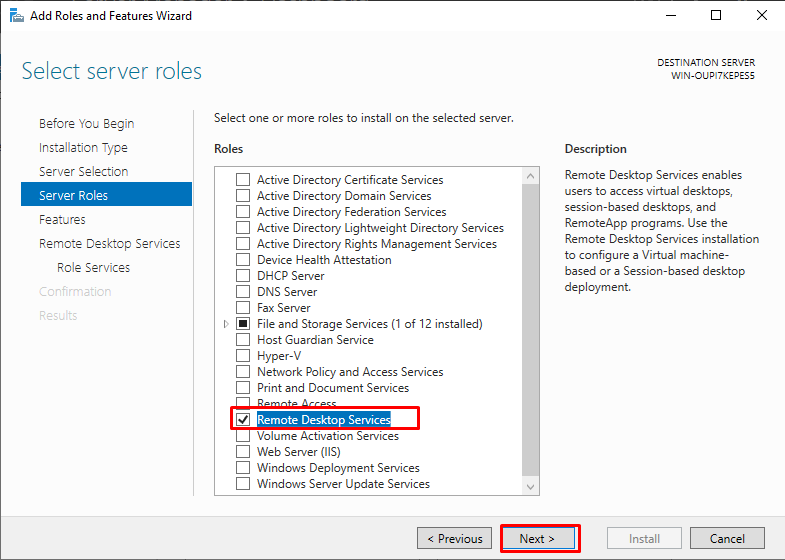
In the “Server Roles” section, we select the “Remote Desktop Services” role that we want to install. We press the “Next” button.
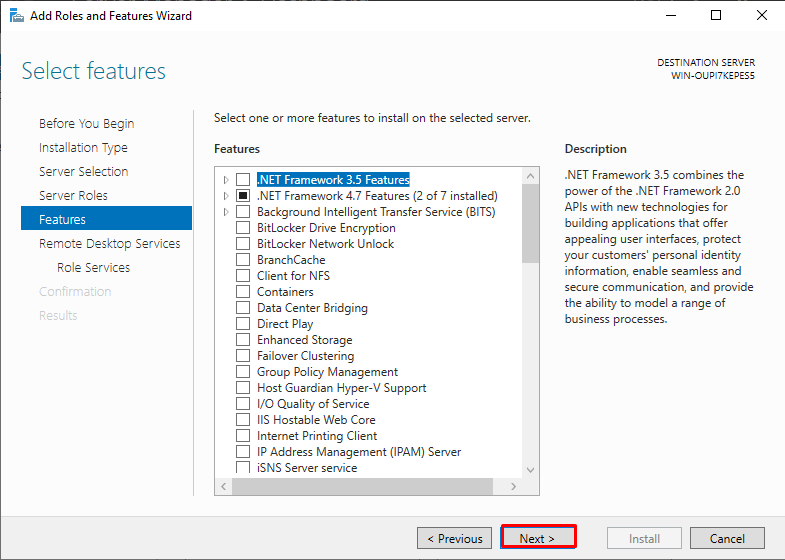
You do not need to do anything in the “Features” step, but if you are going to install a different software after RDS, such as ERP, CRM, you can select the extra features you think you need from this section. If you are going to use it only for RDS, continue by pressing the “next” button without selecting any features.
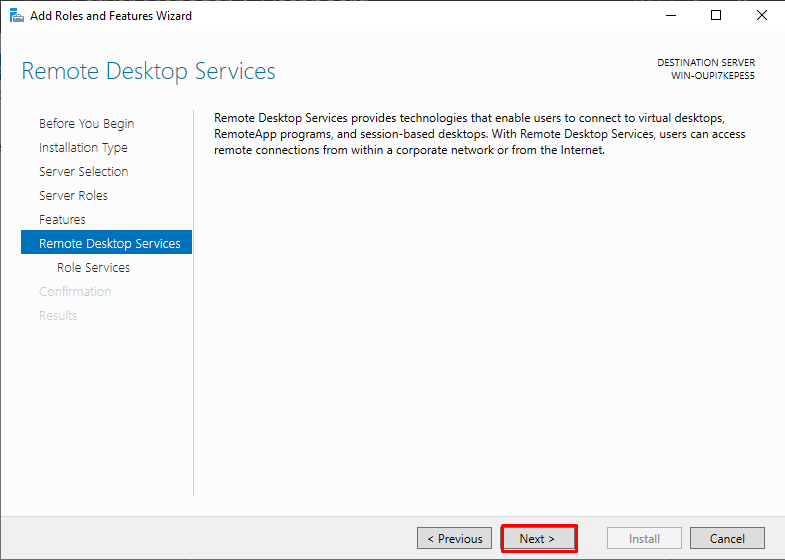
From the “Remote Desktop Services” step it gives you a brief overview of the capabilities and usage of this role. After examining the relevant step, click the “Next” button.
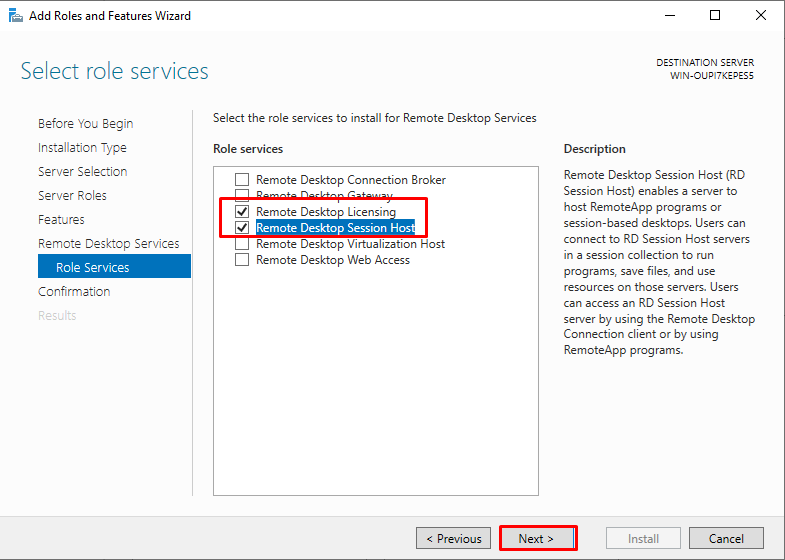
ur RDL service provides license management services for our RDS role infrastructure. The RDS role is offered by Microsoft as an additional licensed product. You can install and test for free on Windows Server Roles and Features. Microsoft offers 120 days of free use for this role. Once your 120-day RDS role expires, you will need to purchase a license to continue using the service. Two different types of licenses are available for RDS. Firstly, our license is device-based, and our second license is based on user-based needs and demands, you can continue your use by choosing user or device-based license models.
I select the RDSH and RDL roles to continue with the installation. We continue by pressing the “Next” button.
In the “Confirmation” section, we view the RDSH and RDL roles and services we selected. Click the “Install” button.
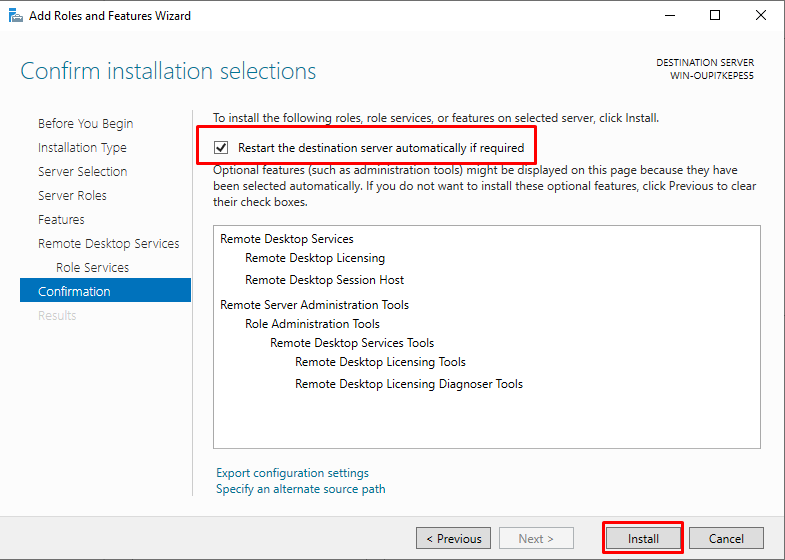
During the installation, the system will restart. The installation will continue when you log in.
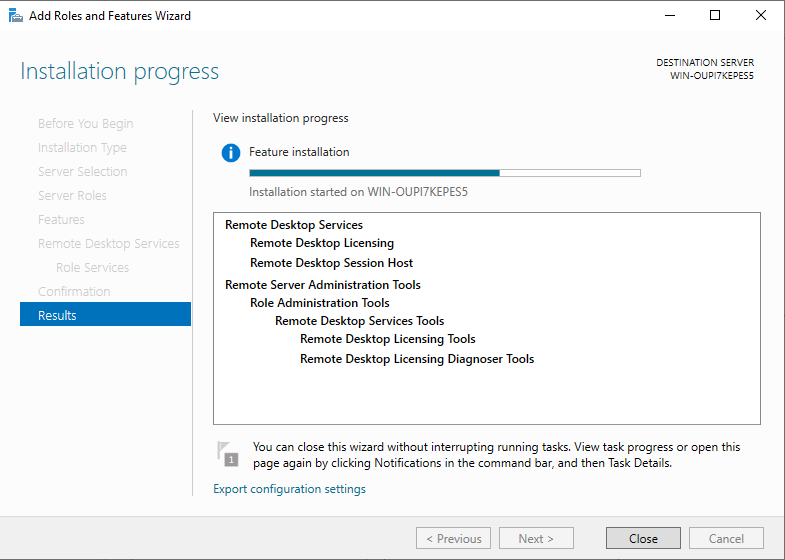
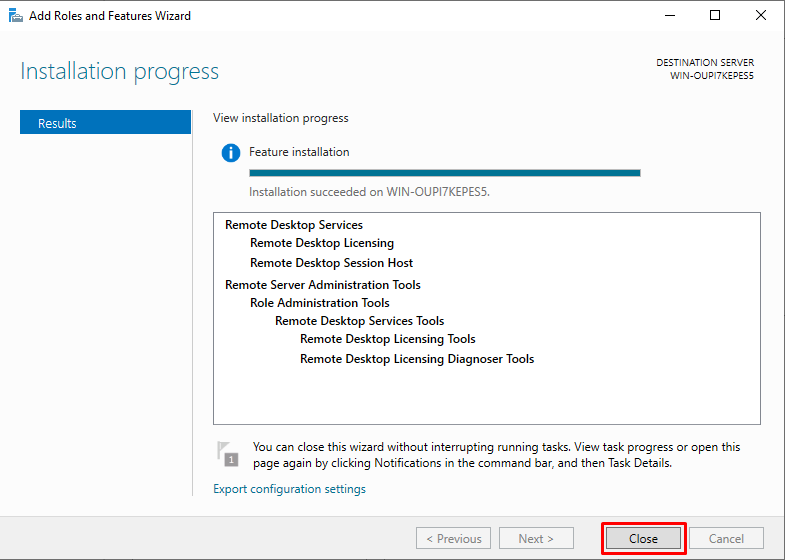
Our RDSH and RDL role and service installations have been completed. Click the “Close” button and log out.
RDSH and RDL setup with Powershell
You can complete the installation in a much shorter time with Powershell. You can install RDSH and RDL using the command below for the same roles as installations.
Install-WindowsFeature Remote-Desktop-Services, RDS-RD-Server, RDS-Licensing –IncludeManagementTools
Configuring RDSH with PowerShell
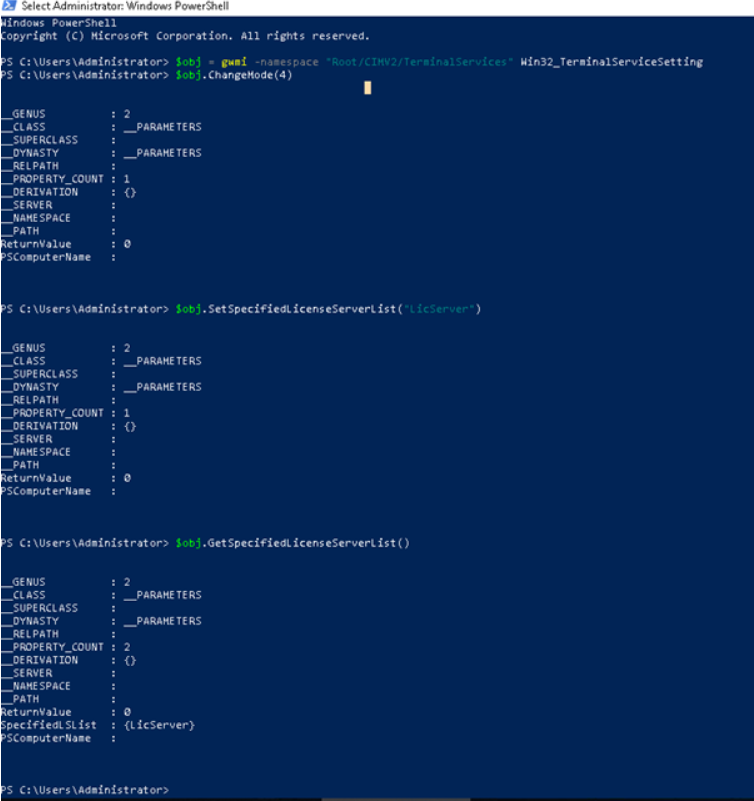
You can use the following PowerShell commands to complete your RDSH configuration. With this process, we create our license registration for RDSH.
First, we check our service.
$obj = gwmi -namespace “Root/CIMV2/TerminalServices” Win32_TerminalServiceSetting
We choose the type of license we will use with our second command. Type Value for Device-based licensing and 2 for user-based licensing.
$obj.ChangeMode(value)
We are entering our license on RDL.
$obj.SetSpecifiedLicenseServerList(“LicServer”)
Finally, we are viewing our license.
$obj.GetSpecifiedLicenseServerList()
RDS License Management Configuration
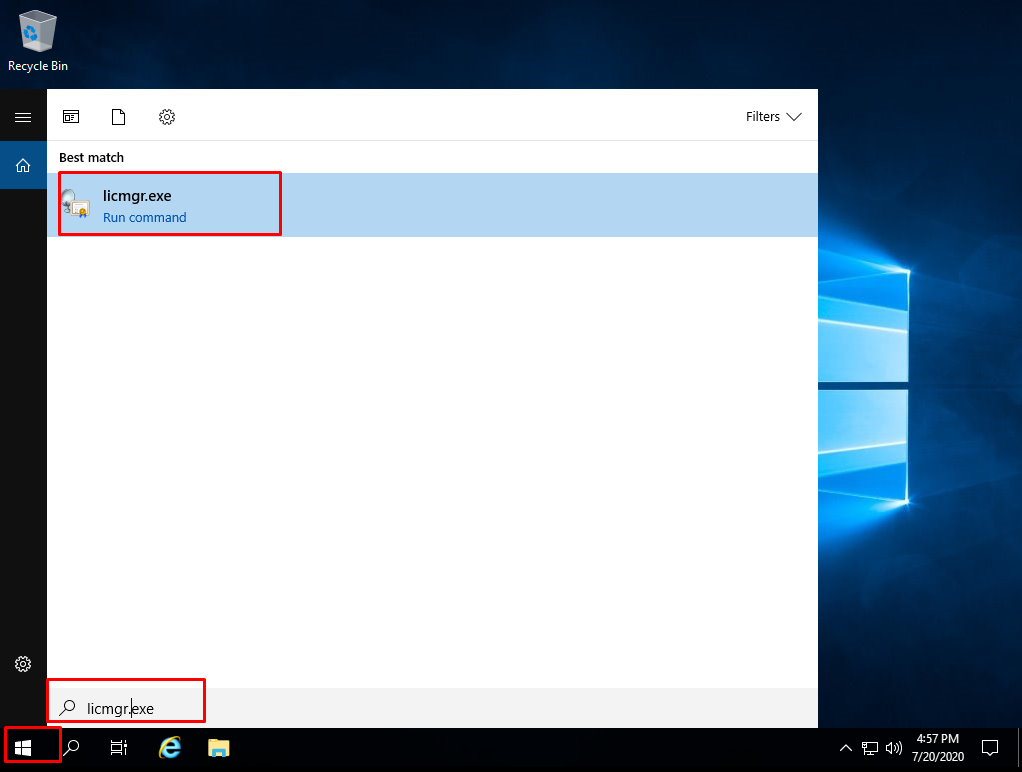
After installation, run RD Licensing Manager (licmgr.exe) to complete your RDS license management configuration.
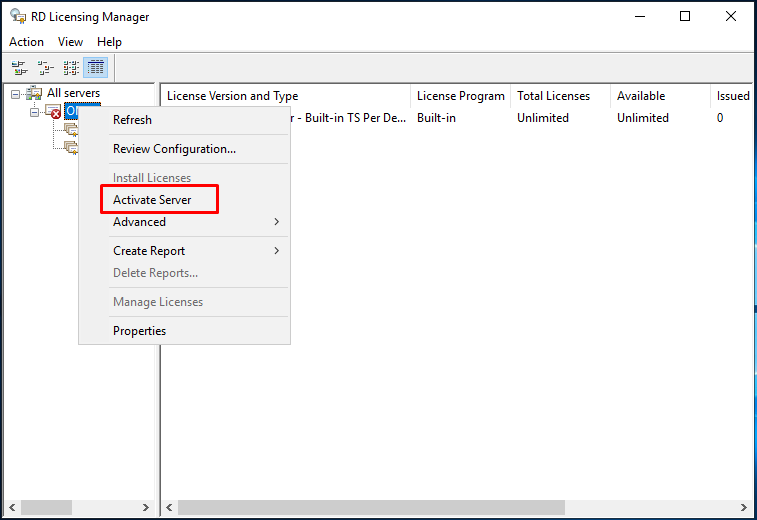
In the RD licensing manager application, under the “All Servers” section on the left, select our server, right-click and click on the “Activate Server” tab.
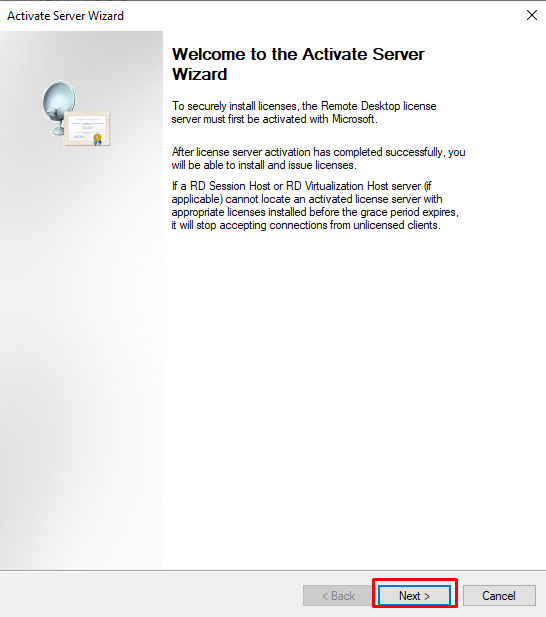
Click the “Next” button in the “Activate Server Wizard” window.
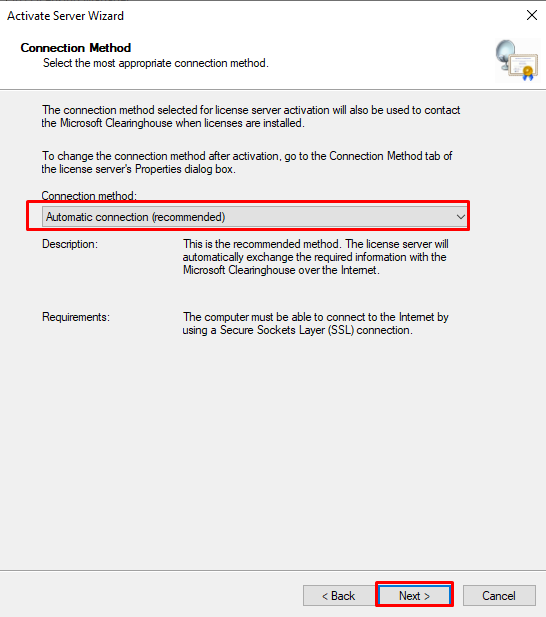
Select the “Automatic connection (recommended)” tab in the “Connection method:” section and click the “Next” button.
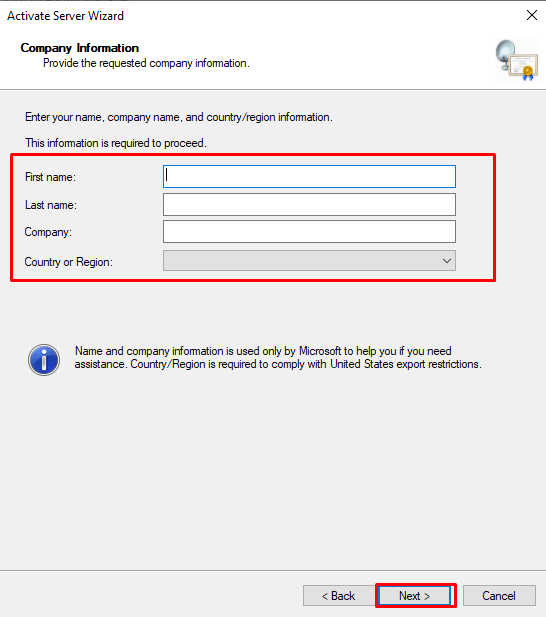
Enter the relevant information on the “Company Information” page and click the “next” button.
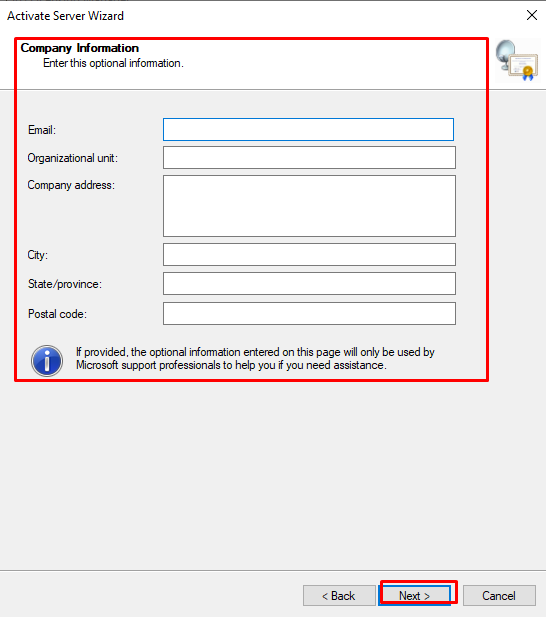
Select the “Start Install Licenses Wizard now” option on the “Completing the Activate Server Wizard” page and click the “next” button.

Continue by clicking the Next button in the “Install Licenses Wizard” window. In the License Program section, select the license type and location settings you have.
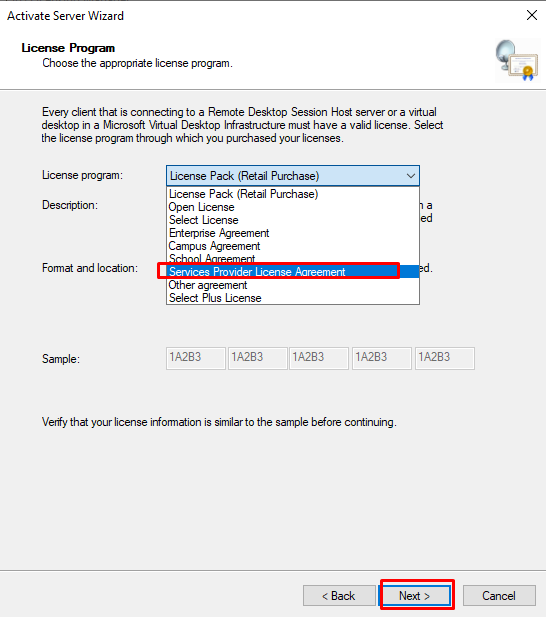
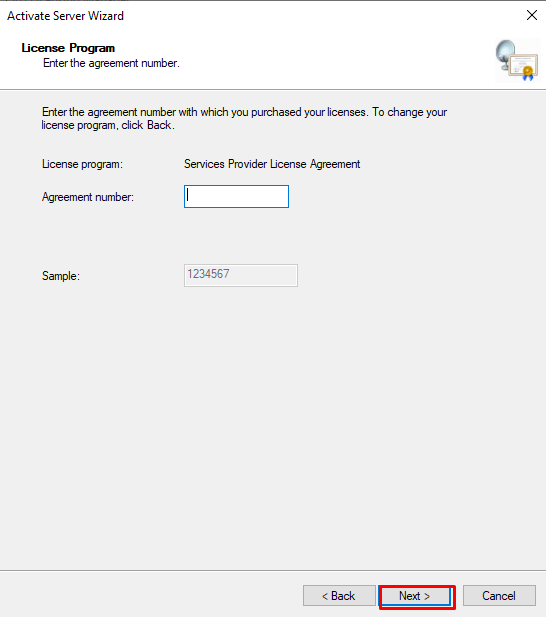
You will enter the activation or a serial number of your license in this section.
Enter the operating system type and the number of users of the license we have and click the “next” button.
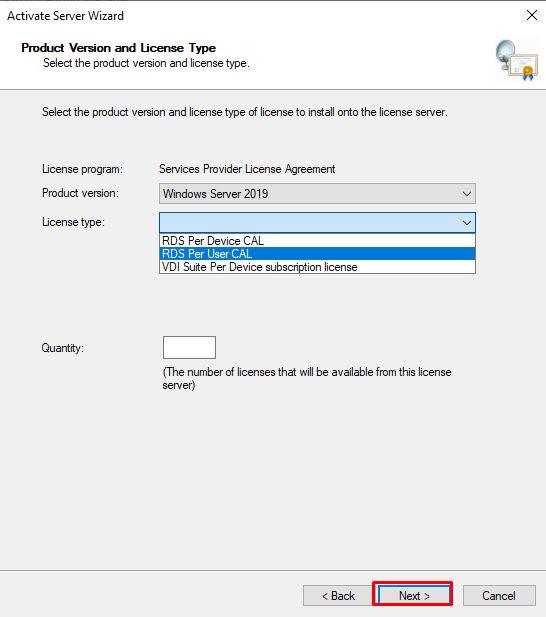
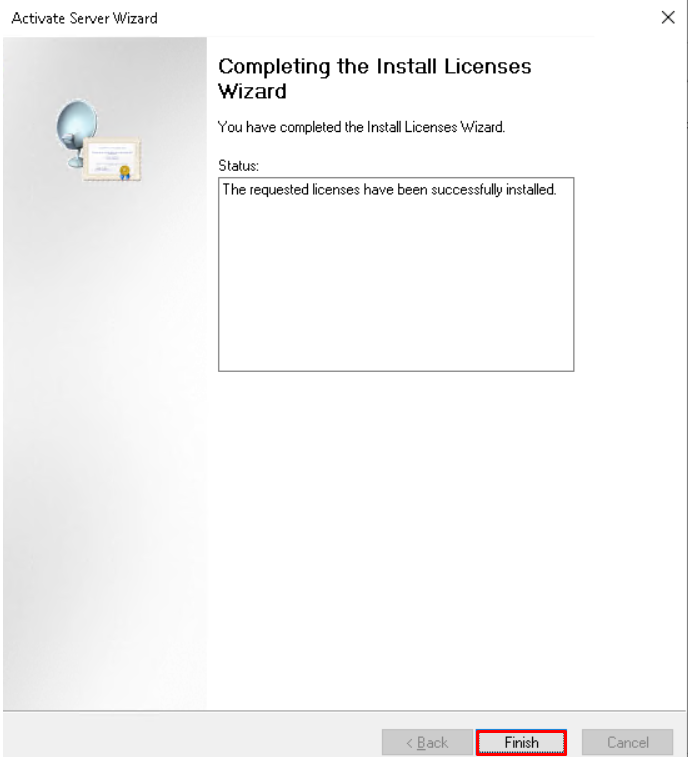
Our license activation process has been completed. We check the latest status of our license.
