Libraries used to create Dlls in software projects or layered architecture in projects. In the .Net structure, coding is made using libraries. First, we will open the Visual Studio development environment.
We start to create our project by following the File> New> Project link.

Let’s select the “.Net Core Console App” option and click the “Next” button to continue the process of creating our project.

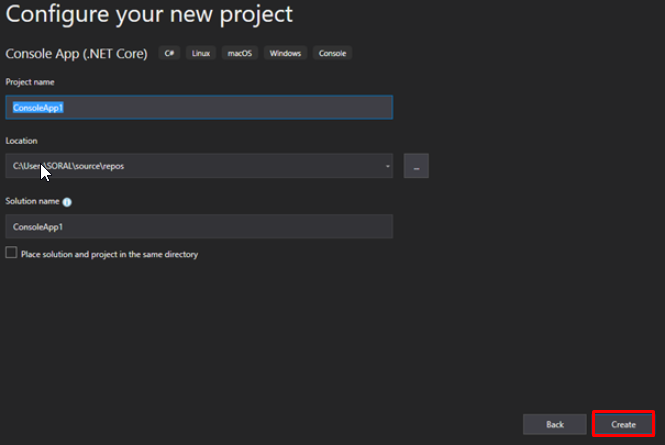
We name our project and create our project with the “Create” option.
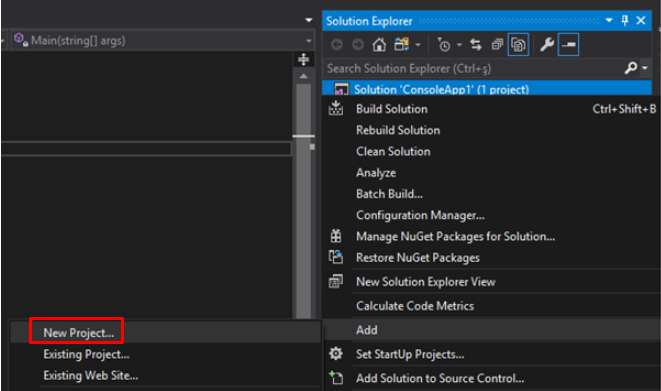
We right-click on our solution file and add a new project with the Add> New Project option.
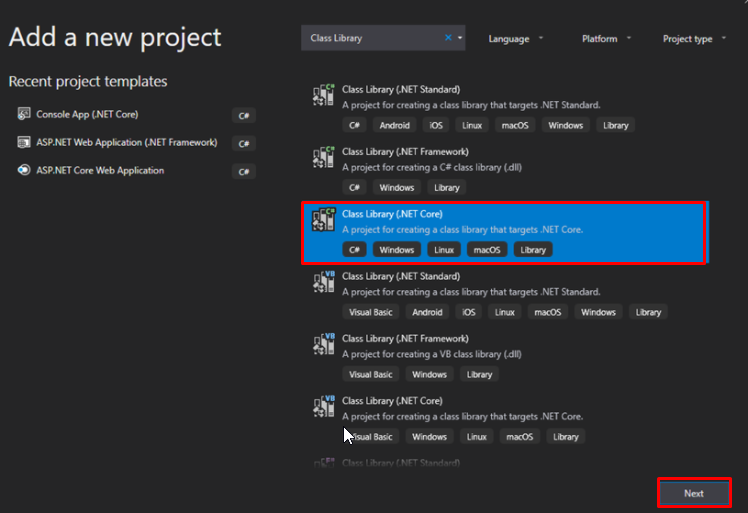
We select the “Class Library (.Net Core)” option and continue with the “Next” option.
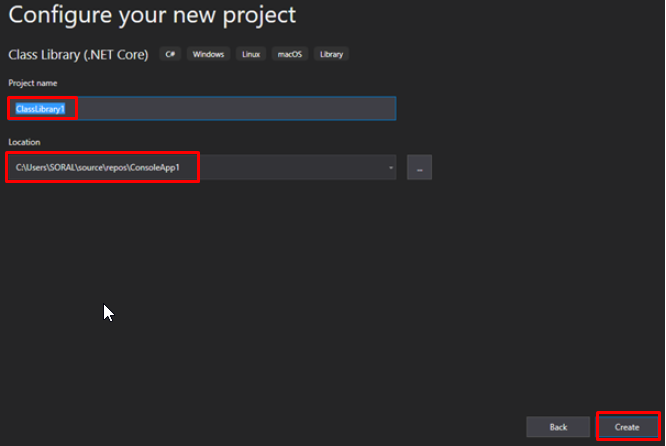
We give a name to our project and create our project with the “Create” option.
In our library project, we write a method that compares two numbers and returns the large value.

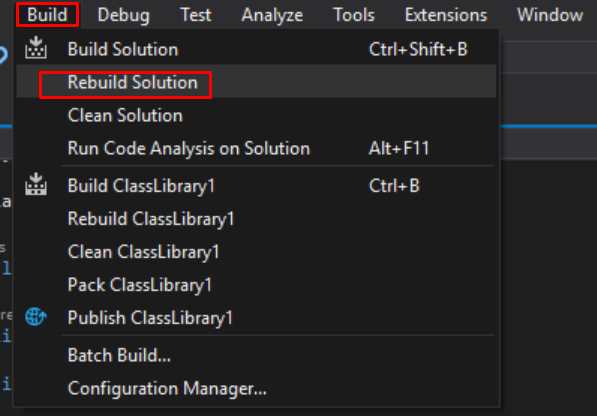
We “Build” our project with the “Rebuild Solution” option from the “Build” menu.
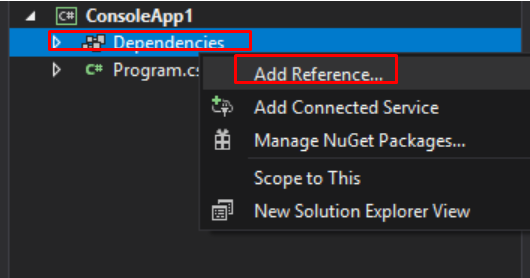
We right-click on the “Dependencies” option and with the “Add Reference” option, we add our Dll file that we created in the Class Library project.
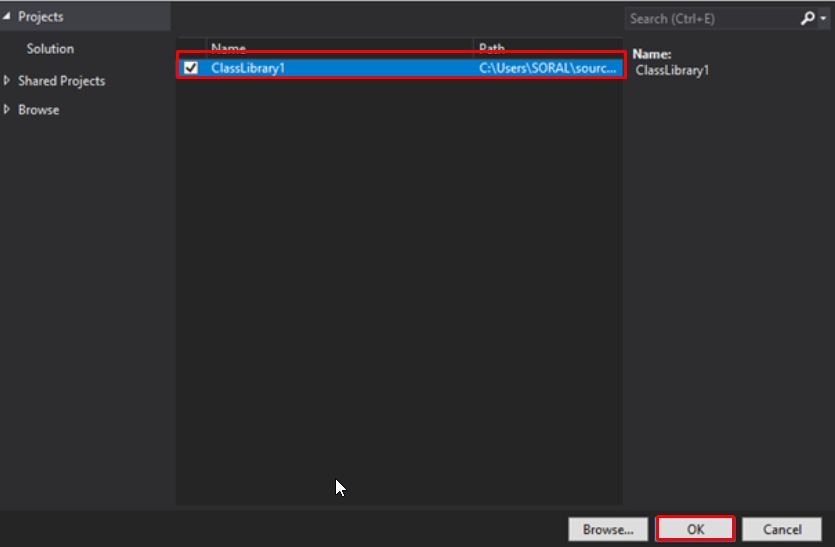
We select our dll file and complete the adding process with the “OK” button.
The library definition is at the top of our page. In our program, we write our method that compares two numbers and we run our Project.

When our project was running, we saw that our method performs comparison operations and conveys the result as we want.

Class Library projects can be written for database operations, modelling or operations we use frequently and can be used by referencing the Dll file for each project.


