We talked about Avecto in our previous article. Now we will talk about how Avecto works on the Group Policy side.
Workstyle in Group Policy
This section is where we define our users or computer accounts, application rules, and configurations such as timers if we need to give time intervals for the rule.

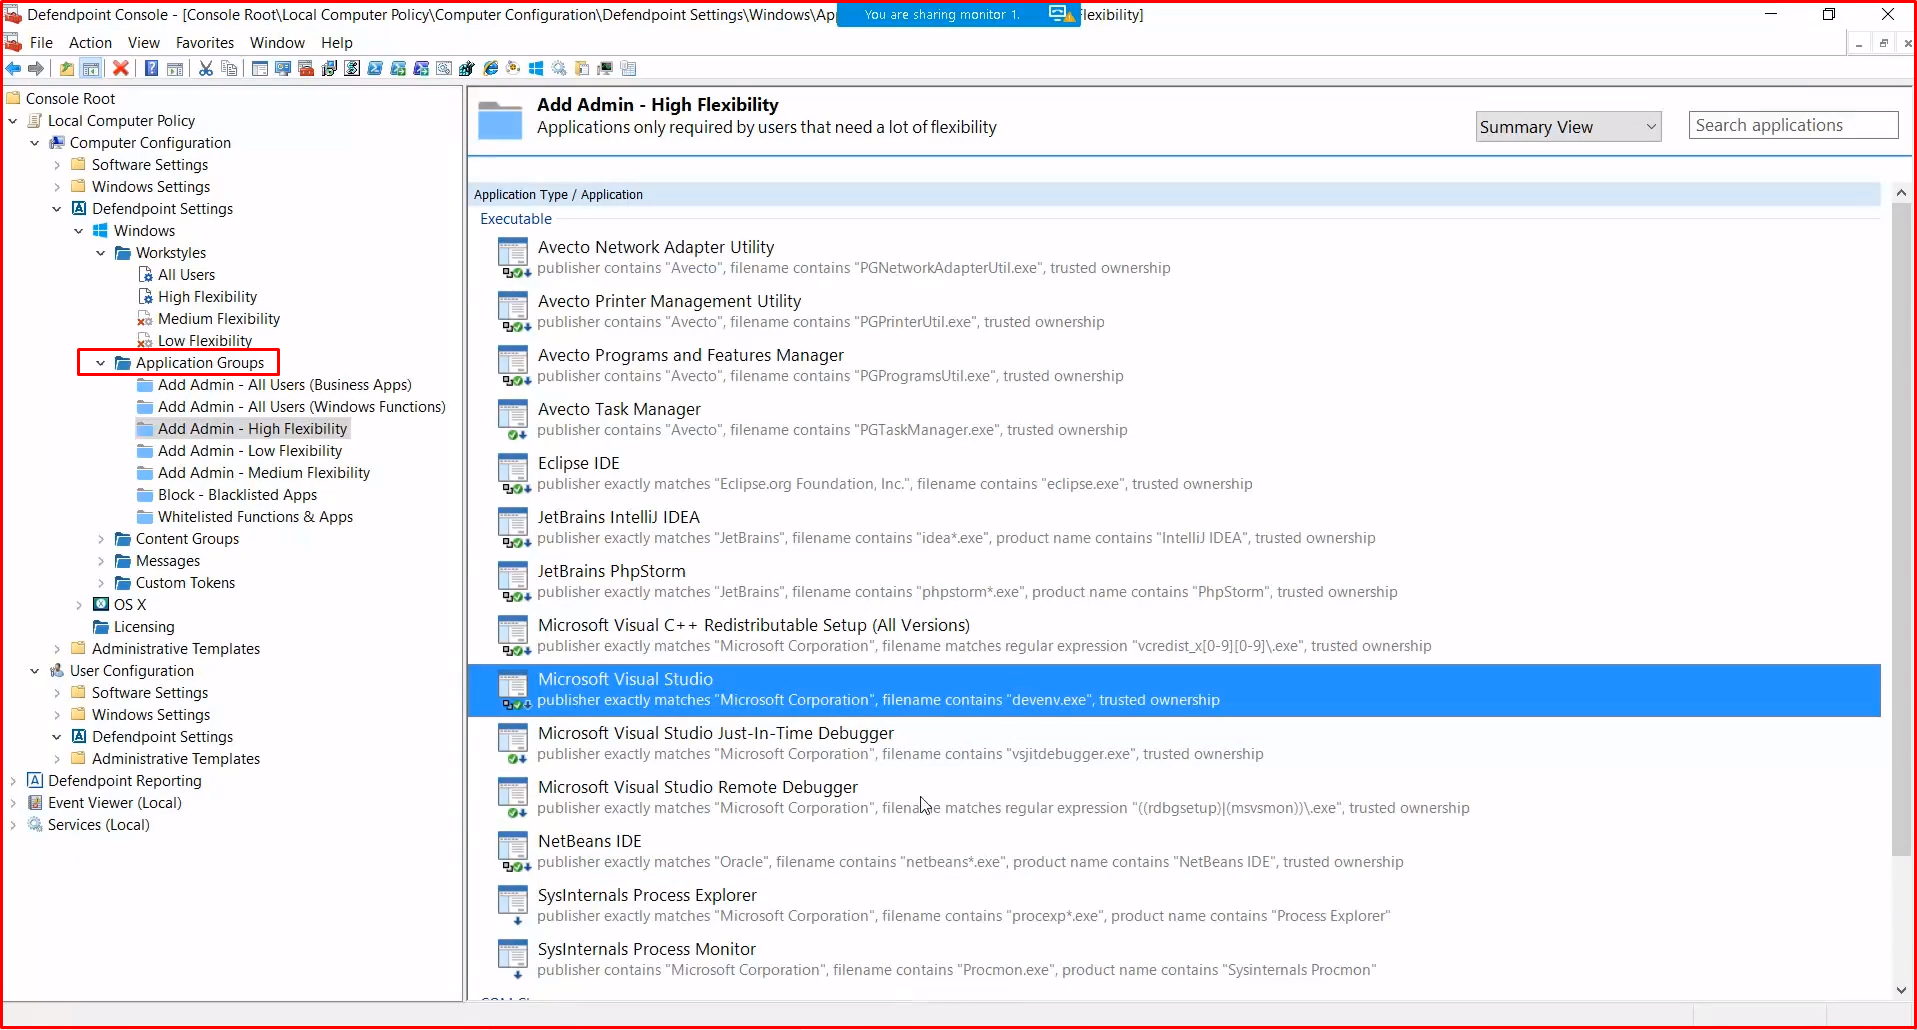
Application Groups in Group Policy
This section is where we interpret the event logs we collect from agents, work with admin right, request UAC or define applications running in Passive mode.
Writing a workstyle rule
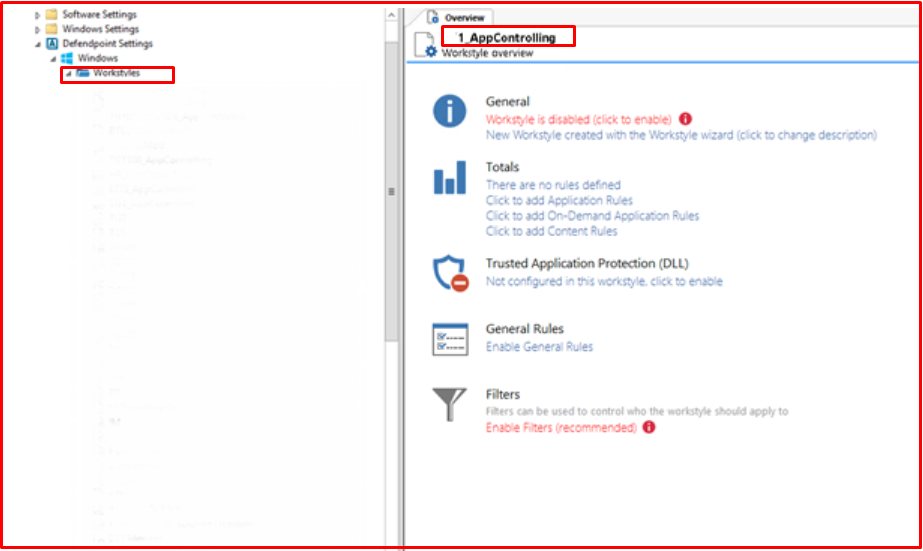
We give the user or users who have standard user rights admin right on the application we have set. At this point, it is important to pay attention to where the rule is located, as the firewall operates logic. After explaining, we will see writing rules. We create a new workstyle by right-clicking the Workstyle under the Defendpoint tab in the GPO.

We give a name to the workstyle we created.
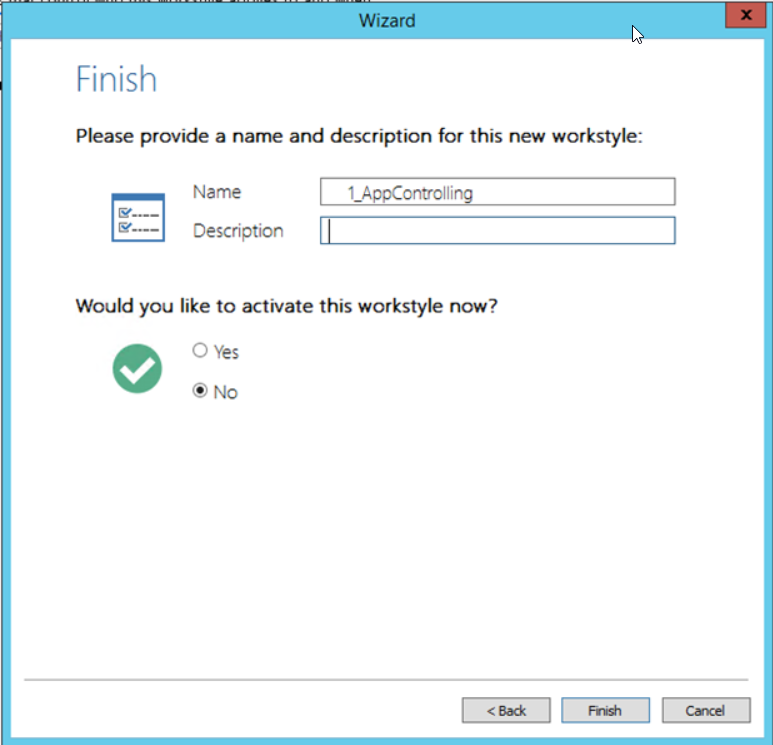
After creating the workstyle, we see that it comes to the bottom. We mentioned that firewall works logic, so the rule above crushes the one below. Considering this situation, we need to define the rule in the correct order.
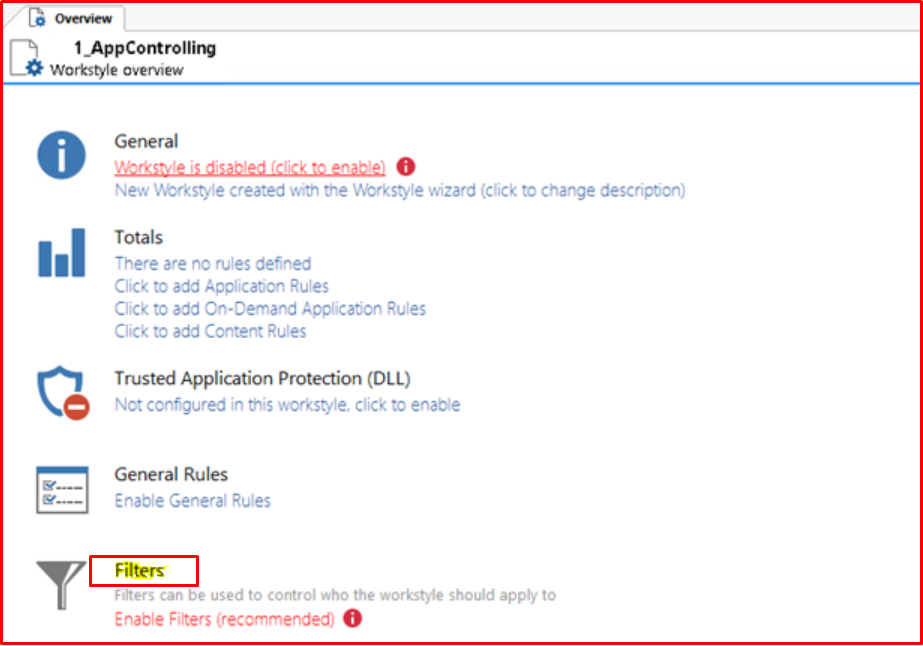
In the “Filters” tab, we select the user or users that we will add to this group. If the groups in AD are set up properly, you can add them as groups.
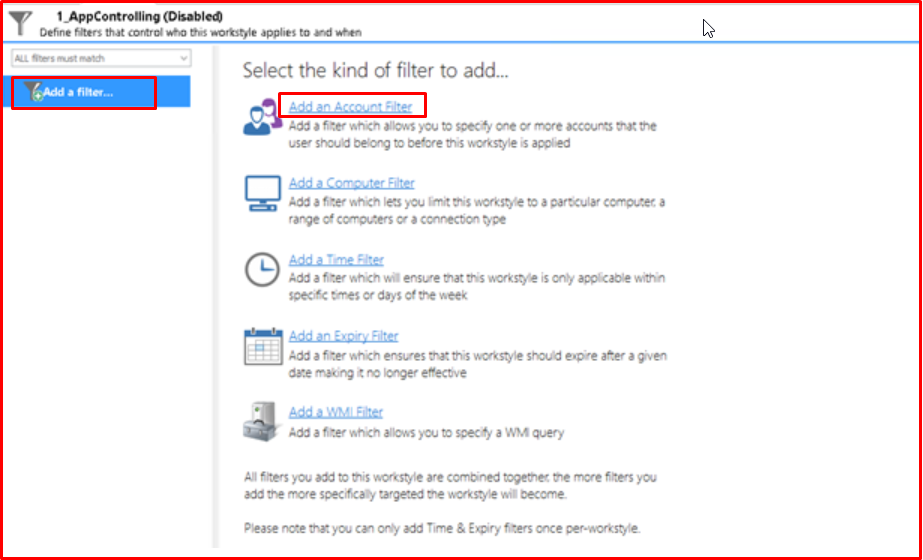
After adding our user, we leave our workstyle step for now and move on to the definition of Application Groups.
Creating the Applications Group
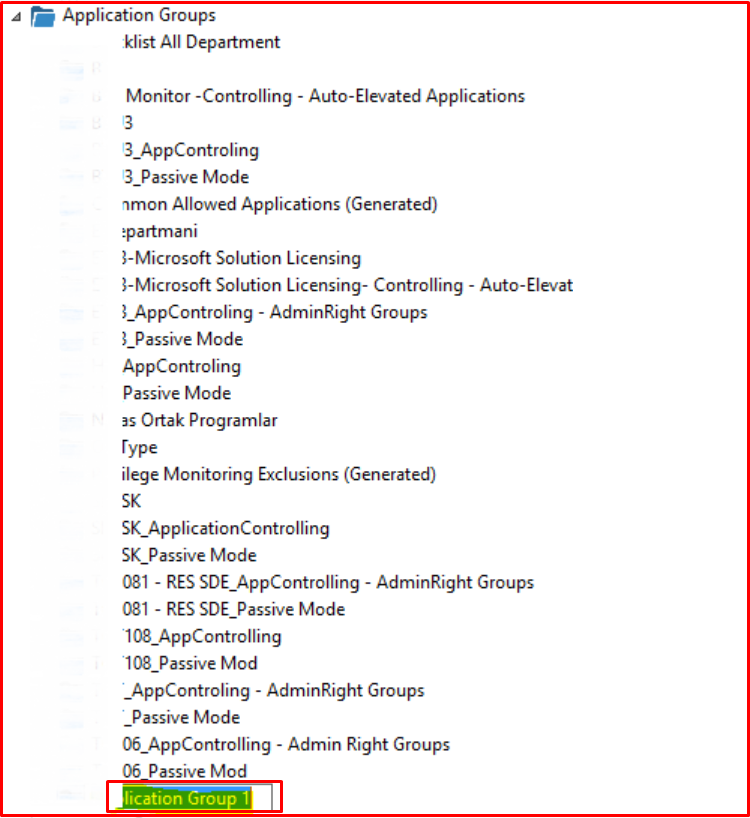
We click on the “New Application Group” tab to open our group. When we create it, the name “Application group 1” is created by default. We are editing according to the name we mentioned above.
Writing Rules
We created a workstyle and application group. We did not write any prohibition rules. Now we will start writing rules. When I try to open Task Manager as “run as” before writing our rule, I fail. Of course, these examples can be reproduced, it will be enough to know that the logic is the same.

We click “Insert Application> Events” in an empty area in “AppControl“.

We continue by selecting the “Event Log” tab.

By clicking the “Browse” button, we enter the computer name we want to view.
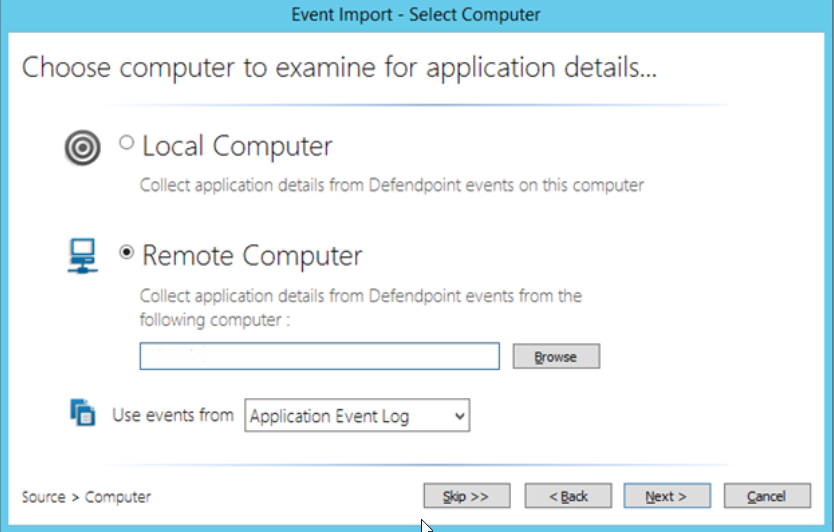
Here we see that 38 applications request “run as” right on the computer we chose. We can see the UAC right here in the same way.
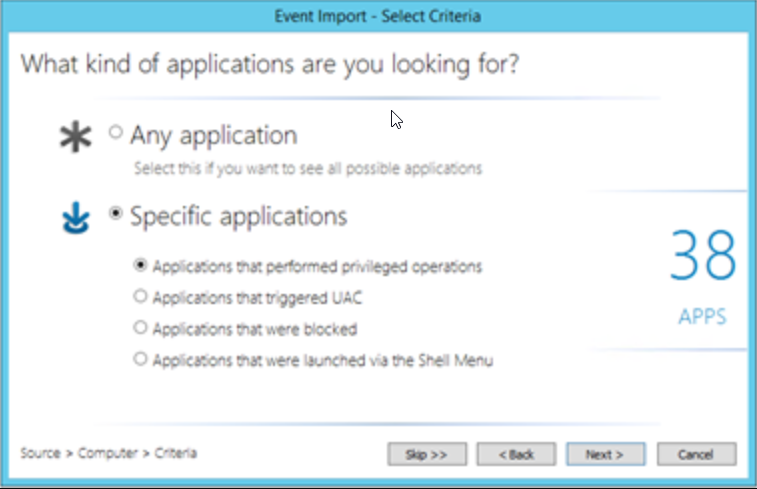
When we continue by saying “Next”, we can see what wants admin rights. What we need to do at this step is to determine what we will allow for the relevant department. Of course, the sampling group is important to reduce false positives.
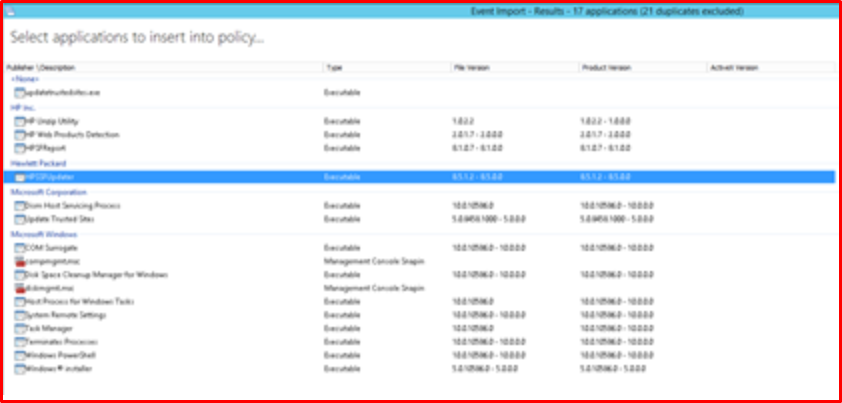
For 1_App, we have defined the following application, process or snaps access permission. This situation will vary according to the structure.

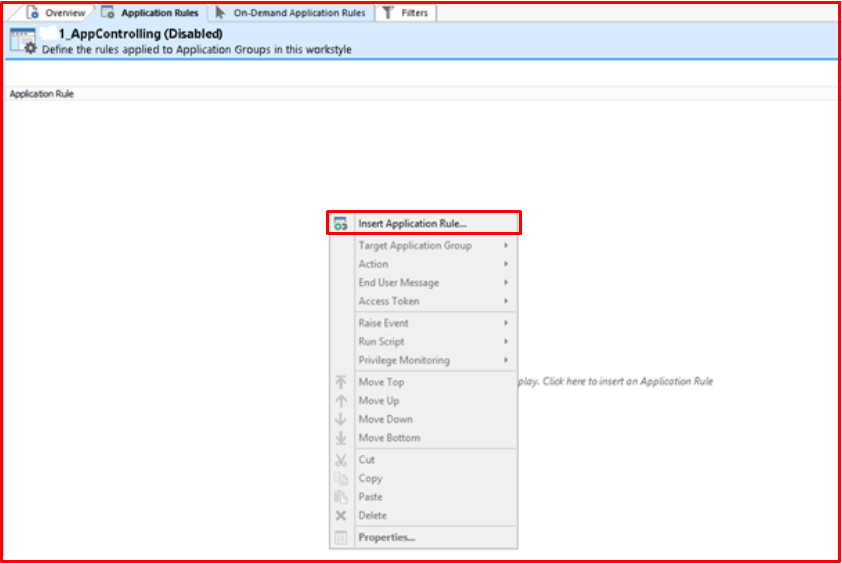
We will complete our operations by returning to workstyle again. We start the process by saying “Click to add Application Rules“.

We start our process by saying “Insert Application Rule“. We don’t need to define all the rules manually. We can copy and paste from other work styles.
If you remember our rule, we have created three stages and we will have the prohibition rule at the top. We created our first rule as follows. You will also send a message to the end-user.

Our second rule is that we choose “Allow Execution” because it should work with admin right and we enable our user to run applications in “1_AppControlling-AdminRights” with “Add Admin Rights” without admin.

Finally, we define our rule for applications running in passive mode.

If we look at the final version of our rule, it will first look at Blacklist and if there is no matching situation, it will check “passive mode” and if it does not match any rule, the application allowed with the “admin” right will be run.

If you want to test the rule you have written quickly, you will need to get a policy with the “gpupdate / force” command from the command line.
When we test it, we see that our rule works successfully.

Finally, let’s test our Blacklist rule. We banned the following vehicles.
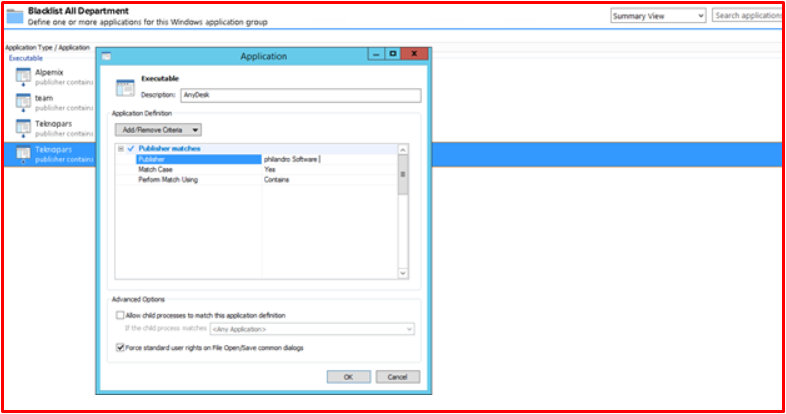
When we want to run the “Anydesk” program, we can see that it is banned.


