In this article, we will talk about distributing Software Updates to User Computers in our build-in System Center Configuration Manager by hidden reboot method.
Software Update Groups
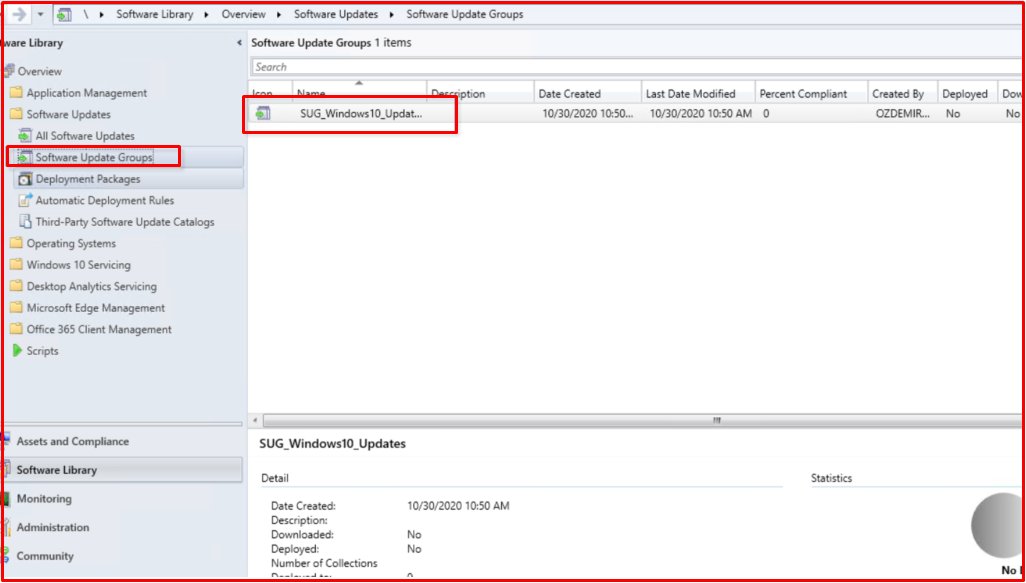
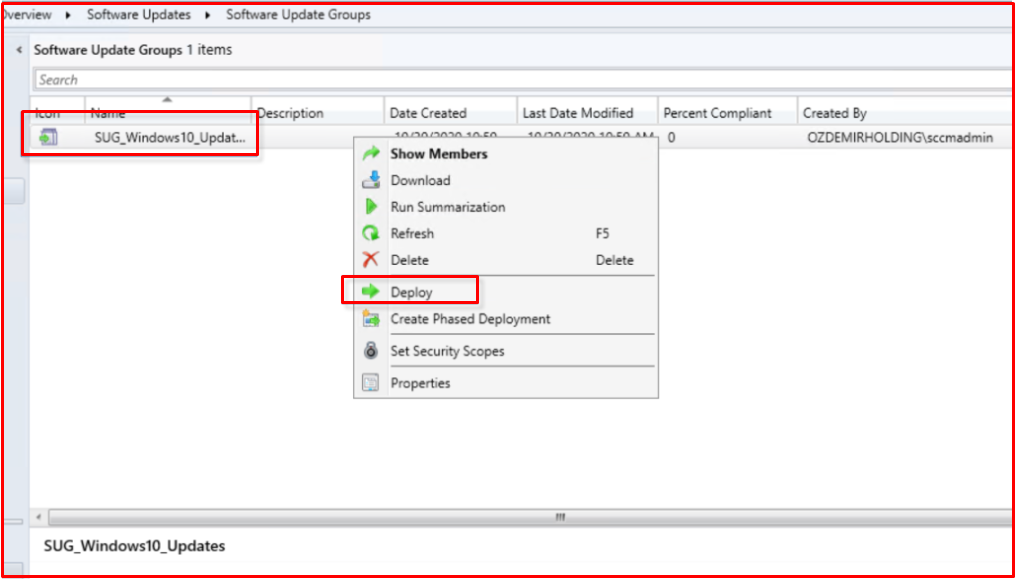
- In order to see the group we have created before, we select the “Software Update Groups” option and right-click on the “SUG_Windows10_Update” object that we created, and select the “Deploy” option for distribution to Client Computers in our structure.
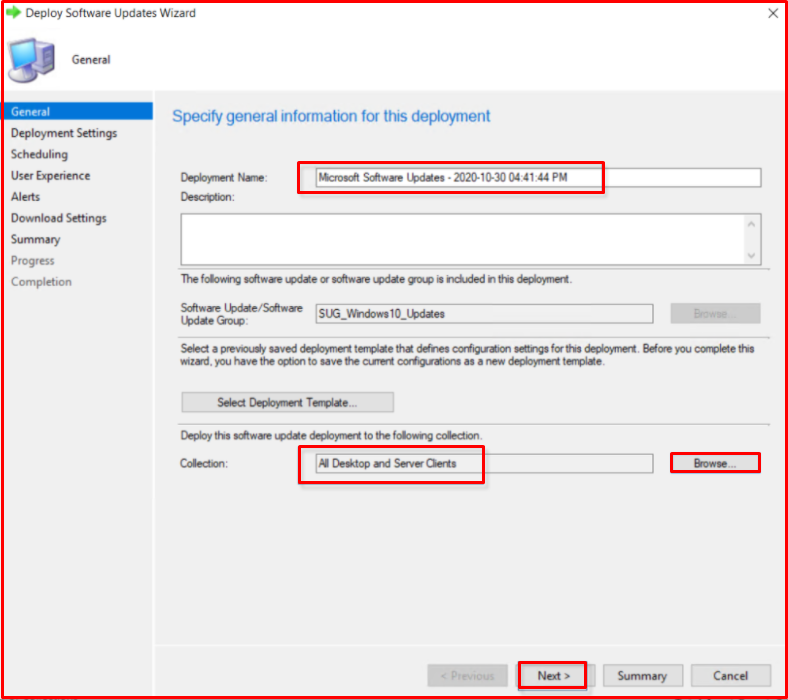
- We choose the “Browse” option to choose the Collection group to which we will deploy. We choose our “Device Collection” where we have client computers to update. (As I mentioned above, it is important to create a Special Collection that contains only the computers that you will update, and perform Deploy operations.) Then, we select the “Next” option.
- We continue with the “Required” option. In the “State message detail level” section, we select the “All Messages” option. We tick the “Use Wake-on-LAN to wake up clients for required deployments” option. We continue by selecting the “Next” option.

- We choose the “Next” option by completing the configurations as below. (These configurations may vary according to your structure or request.)
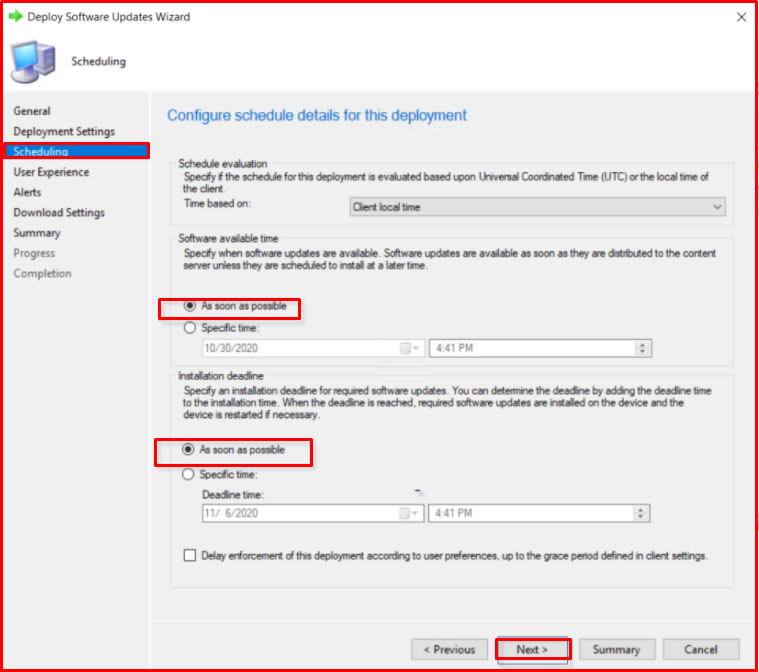
- In order to prevent our “Server” and “Workstation” type computers from being restarted, we select the “Servers” and “Workstations” options and click the “Next” option.
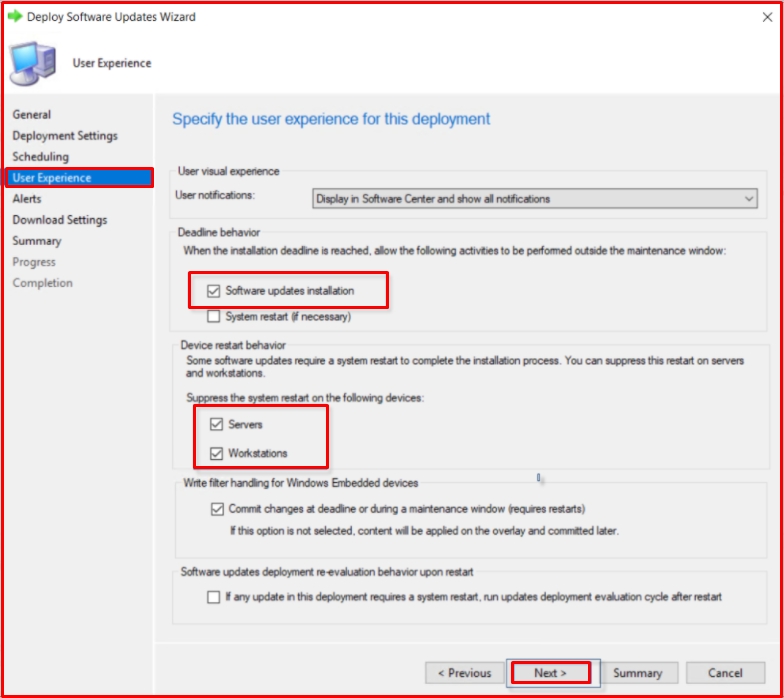
- Since there is no “System Center Operation Manager” product in our structure on this page, we leave it in the “Default” state and continue with the “Next” option.

- On the “Download Settings” page, we continue by leaving the default state and selecting the “Next” option.
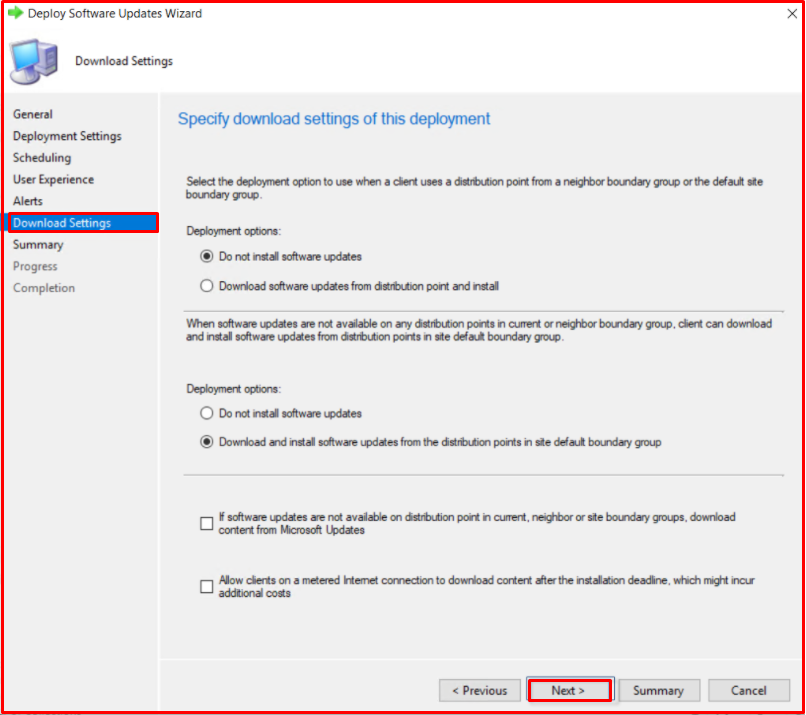
- We start the Deployment process for our Clients by selecting the “Next” option on the “Summary” page.


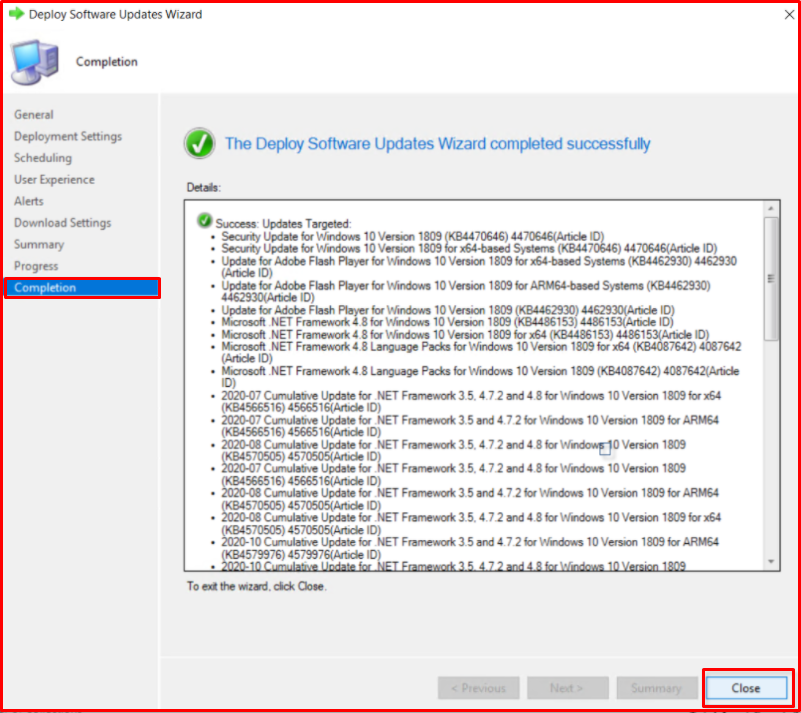
- Deployment processes have been completed on the “Completion” page. We close the relevant screen by choosing the “Close” option.
- We open the “Software Center” program by going to our client computer in our structure.
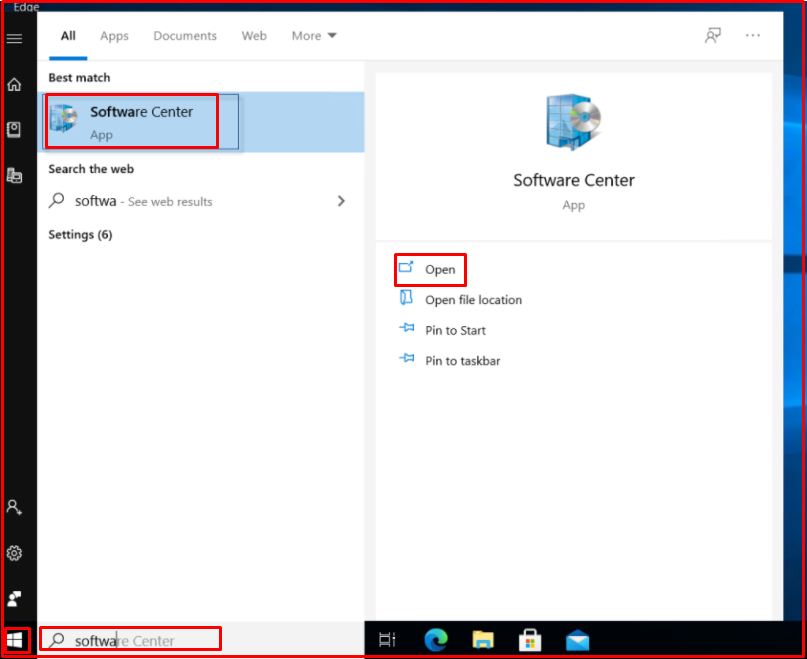
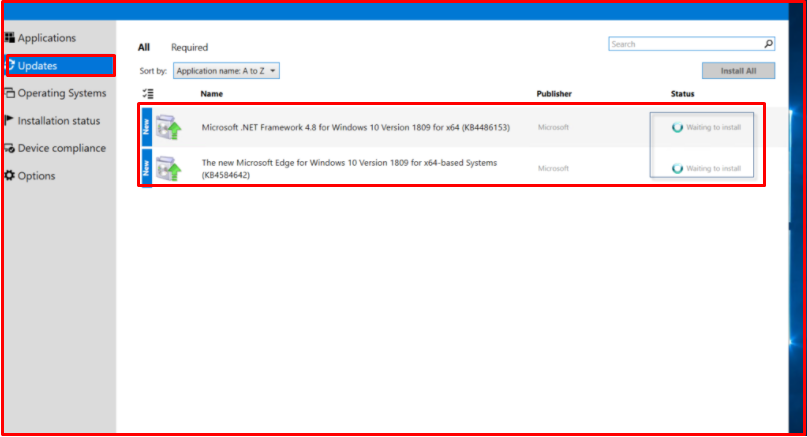
- When we access the Software Center program, we see that the installation we have Deployed has started.
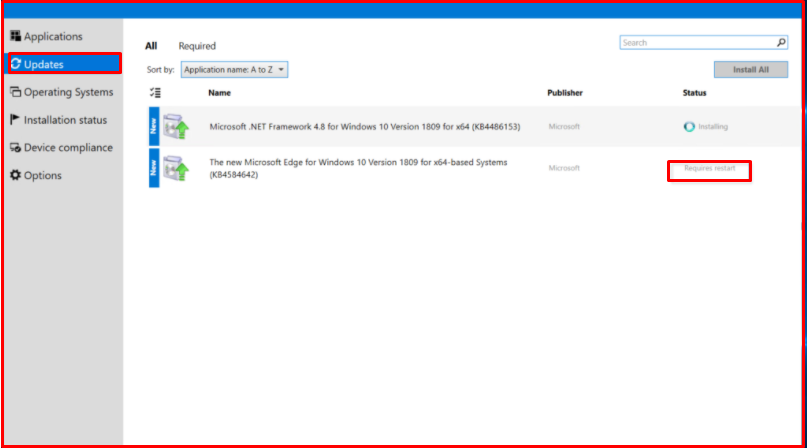
- The client informs us that our computer needs Restart after the installation process is completed. In this update method, after the relevant Updates are installed, the User will wait for him whenever he restarts his computer.
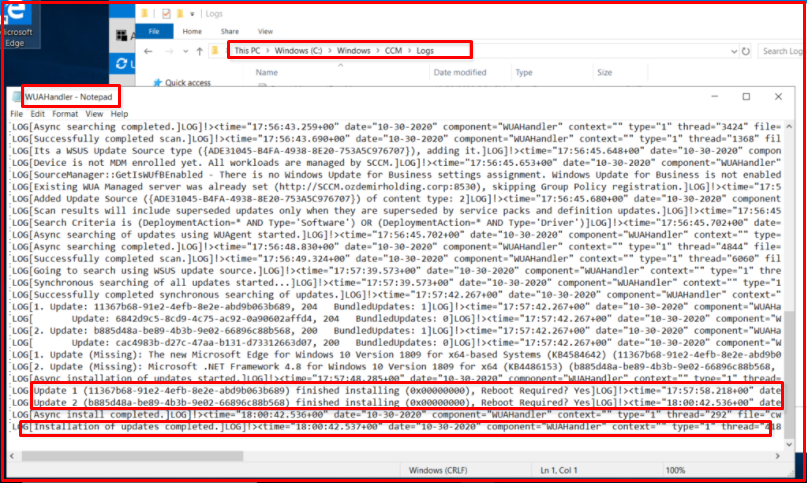
- When we examine our log file named “WUAHandler” located in C:\Windows\CCM\Logs Directory of our Client Computer that we have provided deployment process, we see that the Update installation process has been completed. Here we see the reboot information of our client computer. You can see the Updates have been installed by performing the reboot process.
