Linux support came with SQL Server 2017 release. Now you can run a database server like SQL Server without our SQL Server database open source and without an operating system license. In this article, we will install SQL Server on an Ubuntu machine. For this, we first import the GPG keys with the following command.
wget -qO- https://packages.microsoft.com/keys/microsoft.asc | sudo apt-key add -
sudo add-apt-repository “$(wget -qO- https://packages.microsoft.com/config/ubuntu/20.04/mssql-server-2019.list)”

We are registering at “Microsoft SQL Server Ubuntu repository for SQL Server 2019”.

Installing SQL Server
We perform the SQL Server installation with the following commands. At first, we update ubuntu with the “apt-get update” command. Then we do the SQL server setup.
sudo apt-get update
sudo apt-get install -y mssql-server

The SQL Server installation download process has been completed. Now we are configuring it. We run the following command to configure SQL Server. On the screen that comes up, we choose which version to install. Here we choose the developer edition.
sudo /opt/mssql/bin/mssql-conf setup
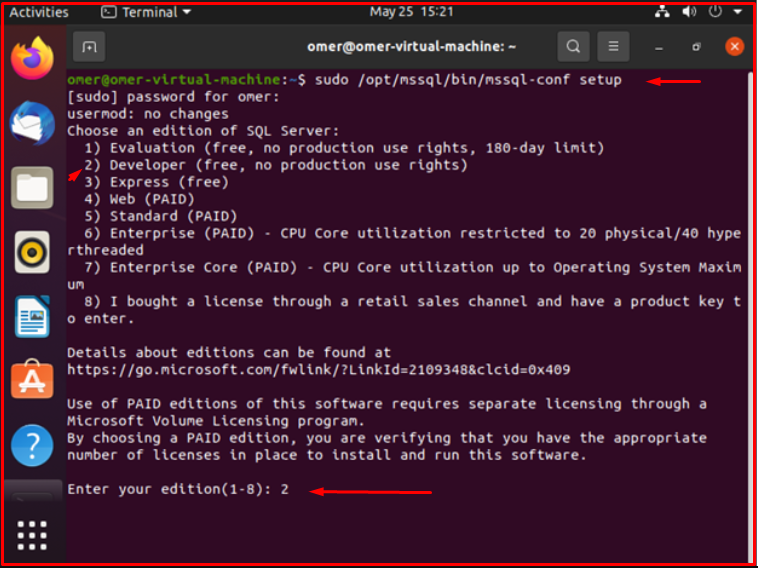
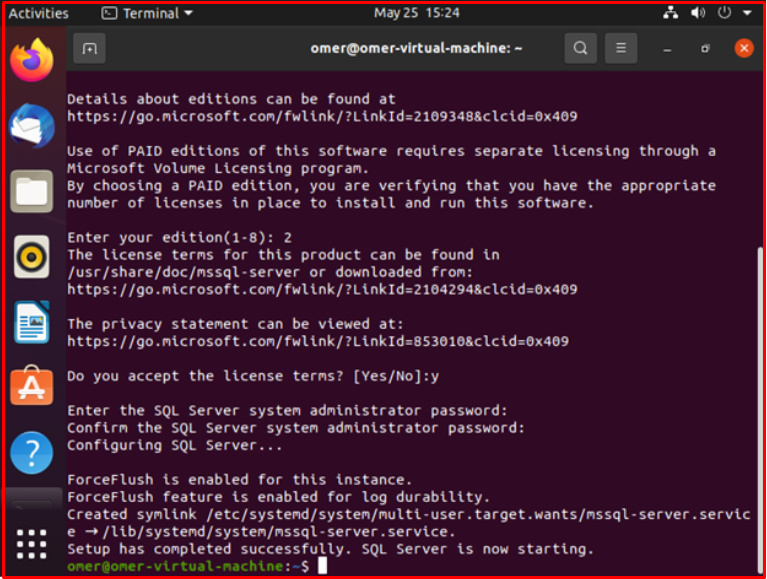
We say “Yes” to the next screen and enter the password for “SA“.

Configuration and installation did.
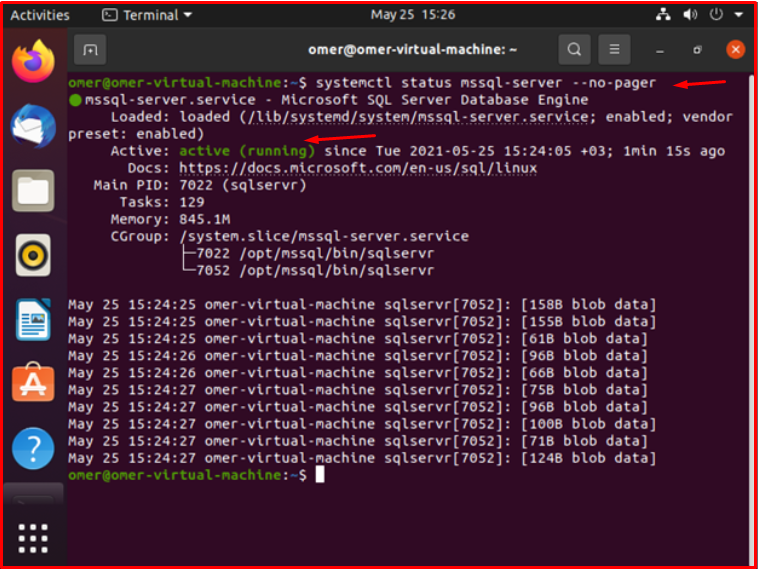
We run the following command to see if SQL Server is running. As you can see, SQL Server is running.
systemctl status mssql-server --no-pager
Install SQL command-line tools
From now on, we can connect from the management studio installed on any Windows machine, but we will install SQL command-line tools to connect from Linux. We run the command. As you can see we got an error. It asks to install “snap“.
curl https://packages.microsoft.com/keys/microsoft.asc | sudo apt-key add -
sudo snap install curl
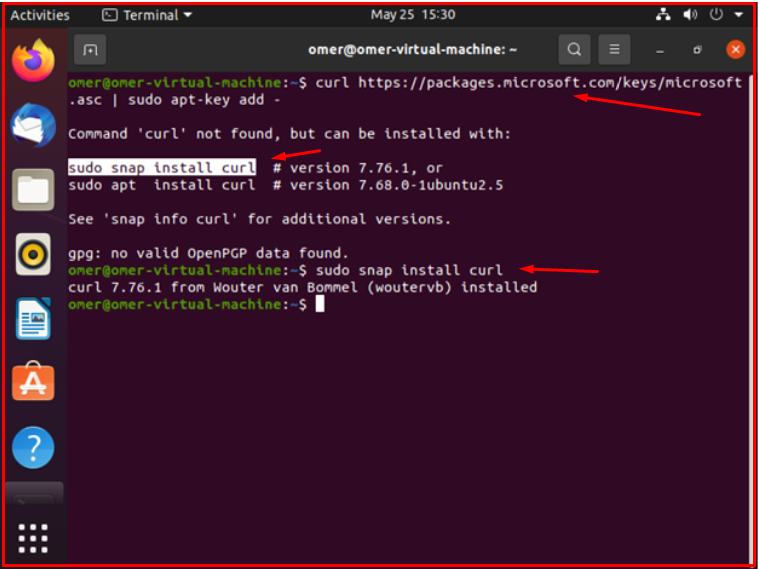
After installing the “snap“, we install the packages.
curl https://packages.microsoft.com/keys/microsoft.asc | sudo apt-key add –
curl https://packages.microsoft.com/config/ubuntu/20.04/prod.list | sudo tee /etc/apt/sources.list.d/msprod.list

After installing the packages, we install Mssql-tools. You can use the following command to install it.
sudo apt-get update
sudo apt-get install mssql-tools.
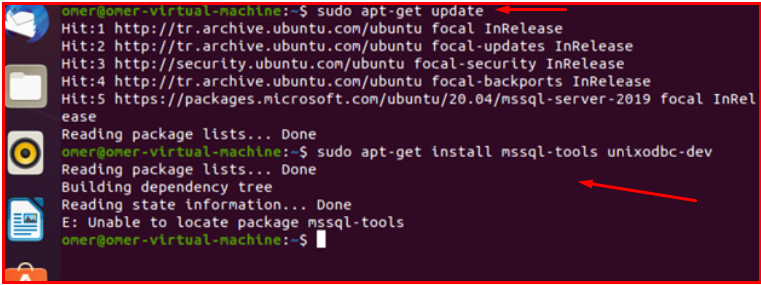

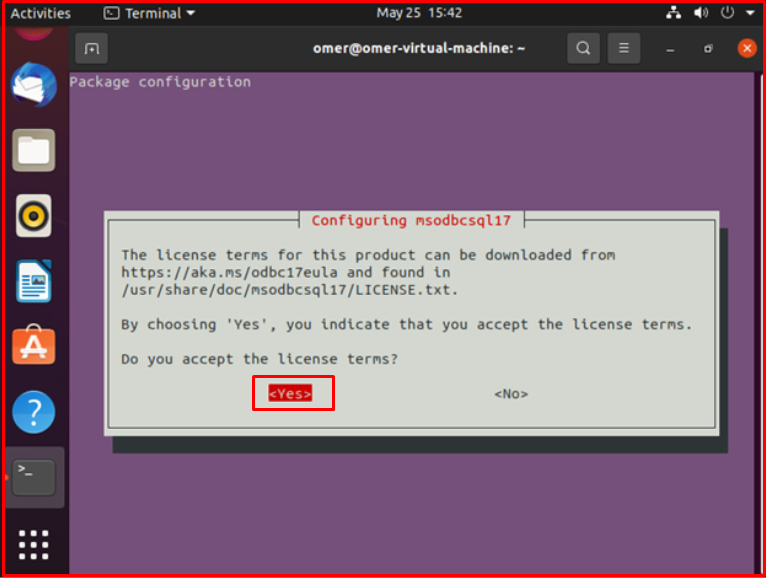

We add the path where the SQLcmd command runs to the environment variables.
/opt/mssql-tools/bin/
echo 'export PATH="$PATH:/opt/mssql-tools/bin"' >> ~/.bash_profile
Now we can connect to the database server. The command we will use for this is sqlcmd. With the command below, we connected to SQL and pulled the server version.

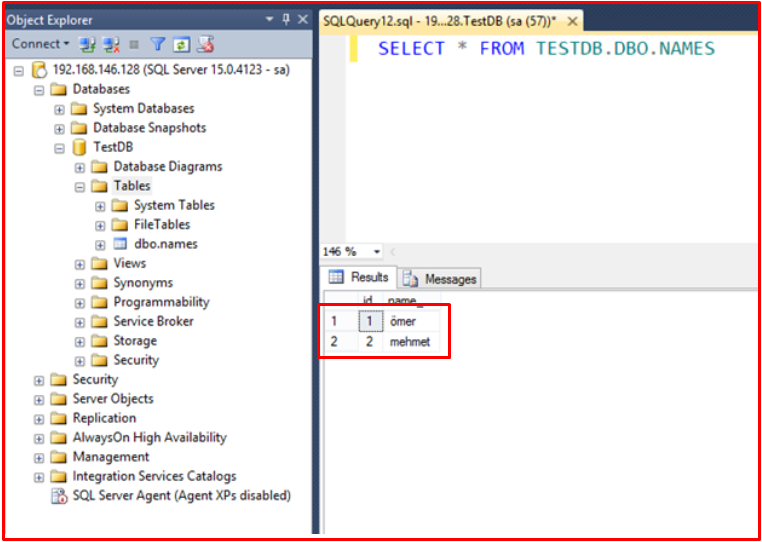
Now we are adding some records to the database. As you can see, we created a database called TestDB. We opened a table named “Names” and added two people named Ömer and Mehmet into it.

Now we are pulling data from the database using the “select” command.

Now we are trying to connect from the management studio. For this, we need to learn the IP of our server. “ip a” command shows us the ip information. As you can see, the IP of our virtual machine is 192.168.146.128.
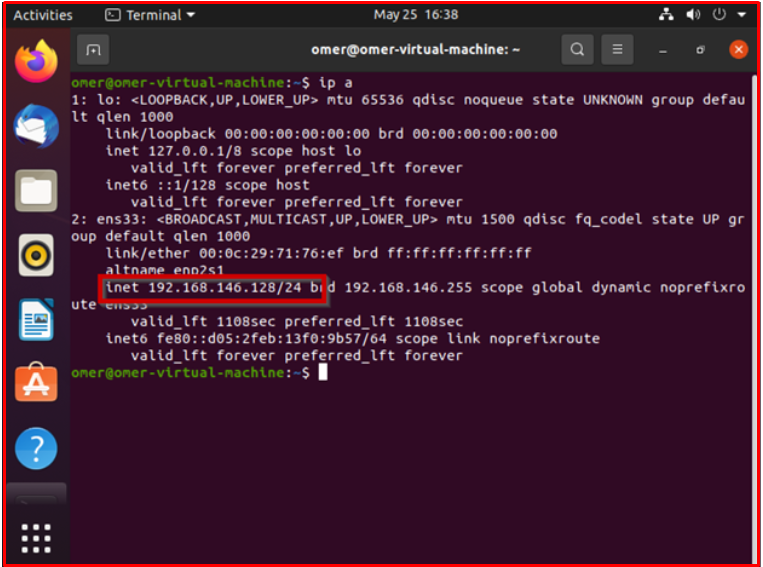
Now we connect from the management studio.

As a result, we are connected to the Database Server.
