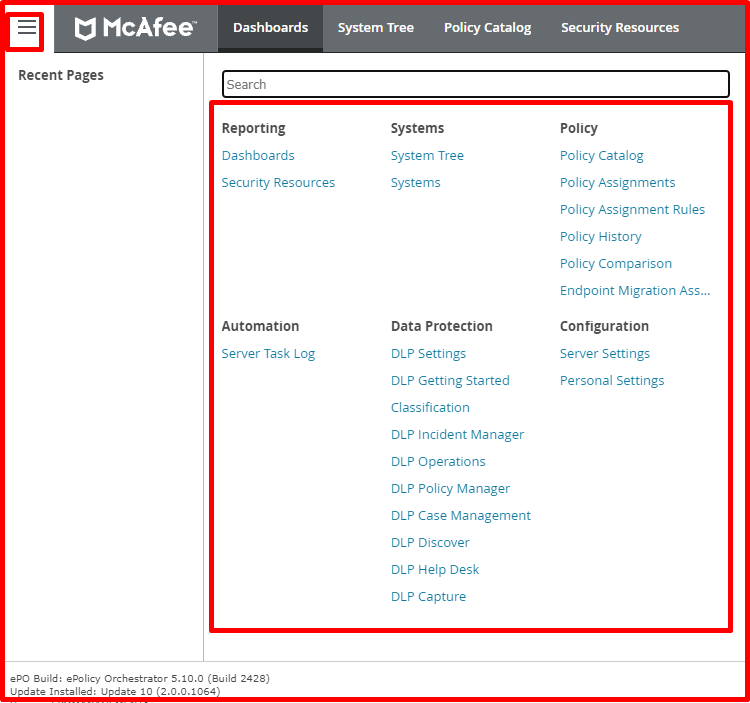
Multiple products are managed via Mcafee ePO. These may require privileged authorization. We will authorize the DLP(Data Loss/Leak Prevention) product on Mcafee ePO. The personnel we have authorized will only see the fields about the DLP product.
Setting “Permission Sets”
For this, we first click on the “Menu -> Permission Sets” button on Mcafee ePO.

On the “Permission Sets” screen, click the “New Permission Set” button at the top.

In the “New Permission Set” screen, you can give the unit name as the name. As an example, we gave “DLP Admin“. Exit by clicking the “Save” button.

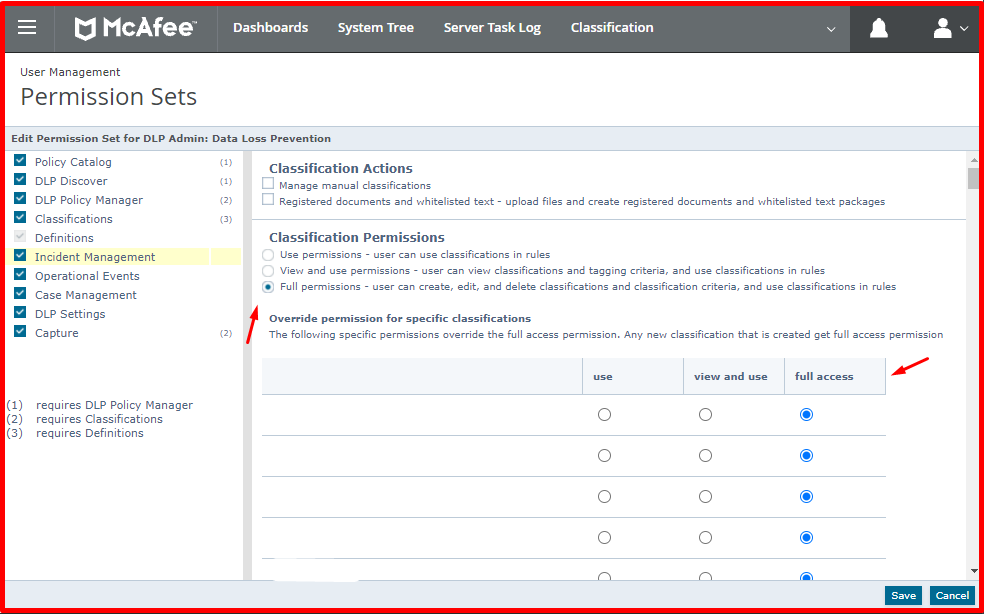
We choose the “DLP Admin” that we created in the “Permission Set” settings. Here we click the “Edit” button for the “Data Loss Prevention“, “Dashboards“, “DLP Help Desk Actions” tab. We give permissions as seen on the screen below.



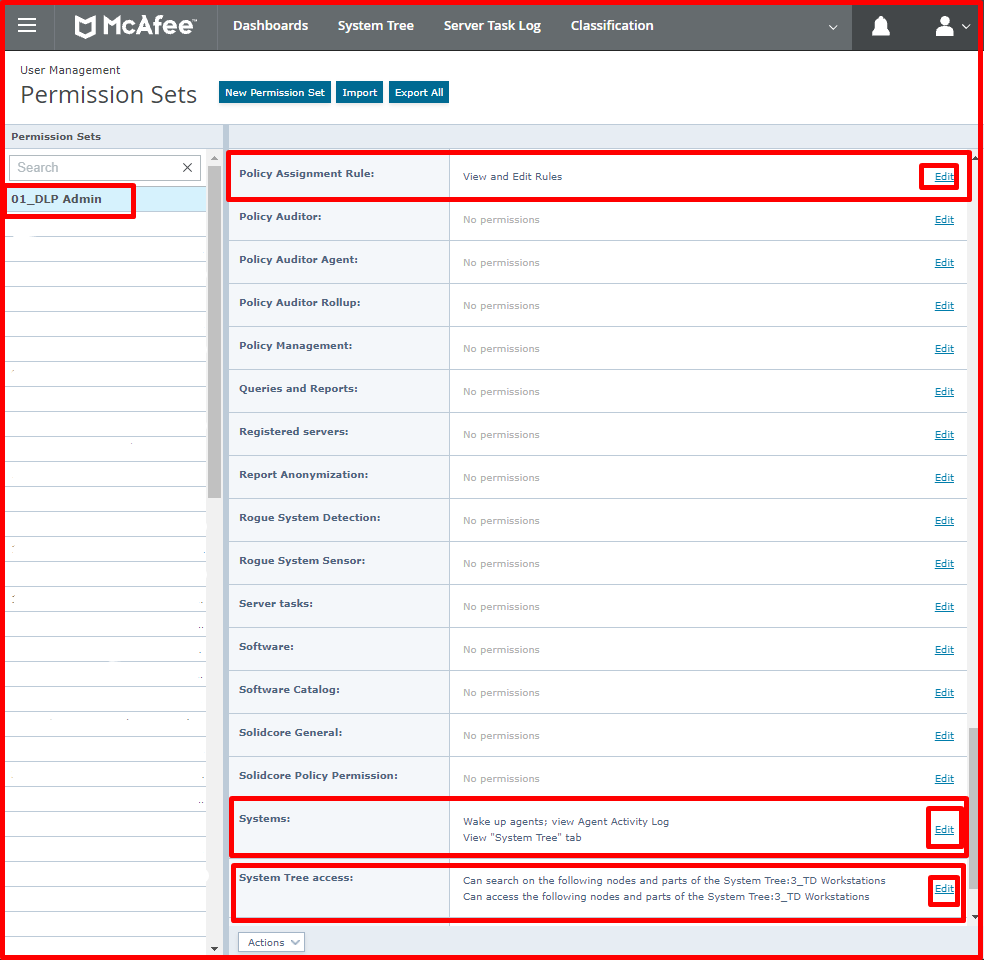
And then click the “Edit” button for the “Policy Assignment Rule“, “Systems“, “System Tree access:“, tab. We give permissions as seen on the screen below.


User Creation and Settings
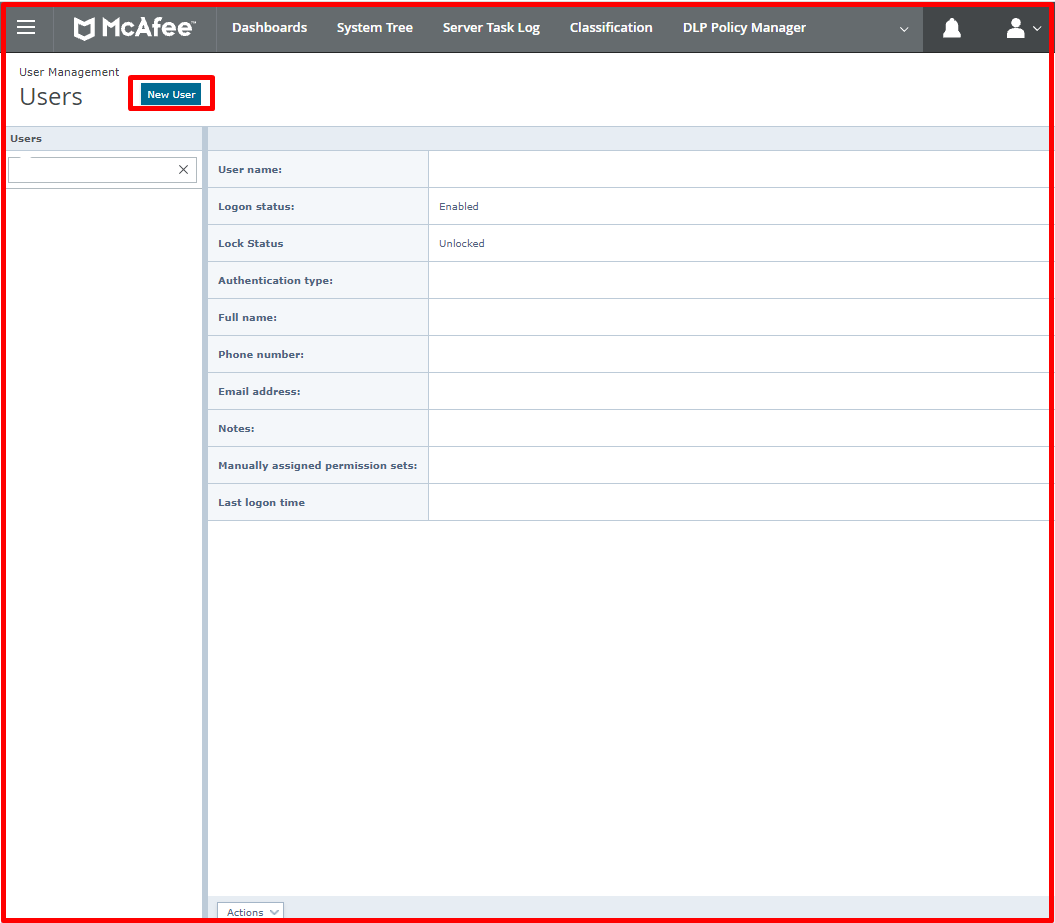
As a first step, we will create a user. For this, we click on the “Menu -> Users” button on Mcafee ePO.

Click the “New User” button at the top of the “Users” screen.
Here, enter the user’s job in the “User name” field. If Active Directory is used in the environment, you can add a user from the “Windows authentication” section. If not, you can create a user via ePO from the “ePO authentication” section. The important thing here is the “Manually assigned permission sets” part. Here we select the “Permission set” that we created. We choose “” set. Exit by clicking the “Save” button.

DLP Policy Settings
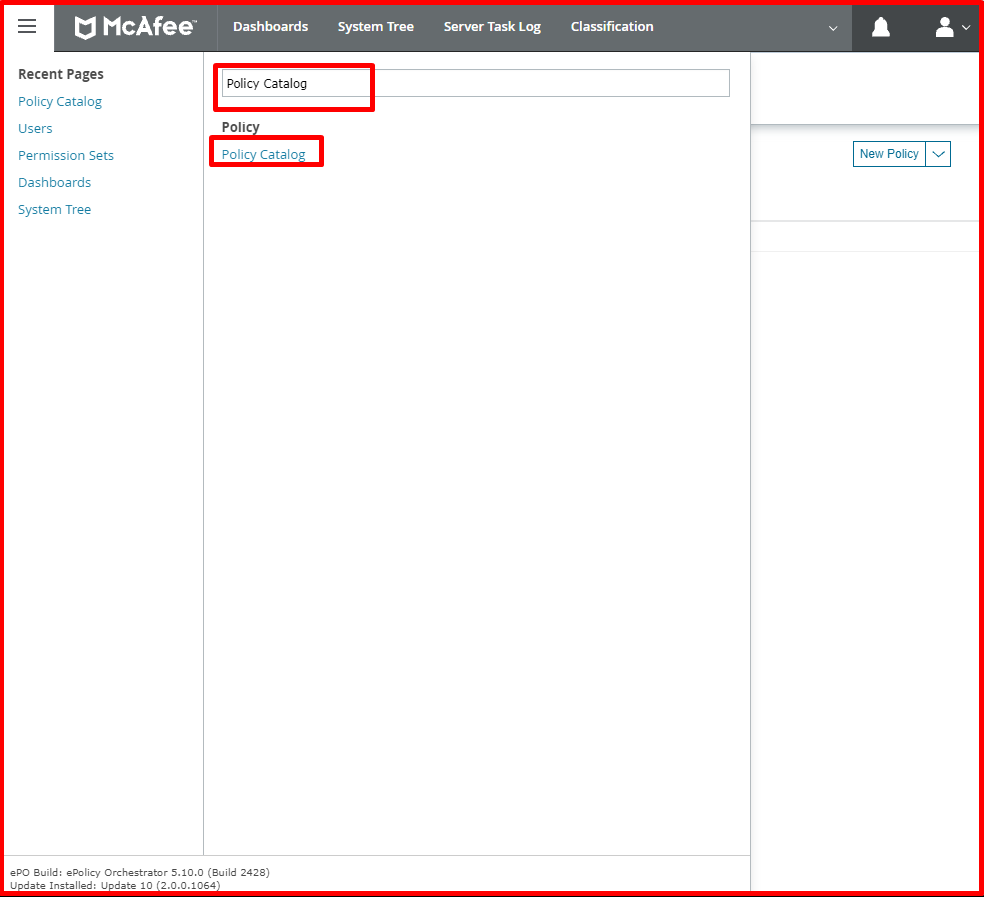
Third, we will set the “DLP Policy” settings. For this, we click on the “Menu -> Policy Catalog” button on Mcafee ePO.
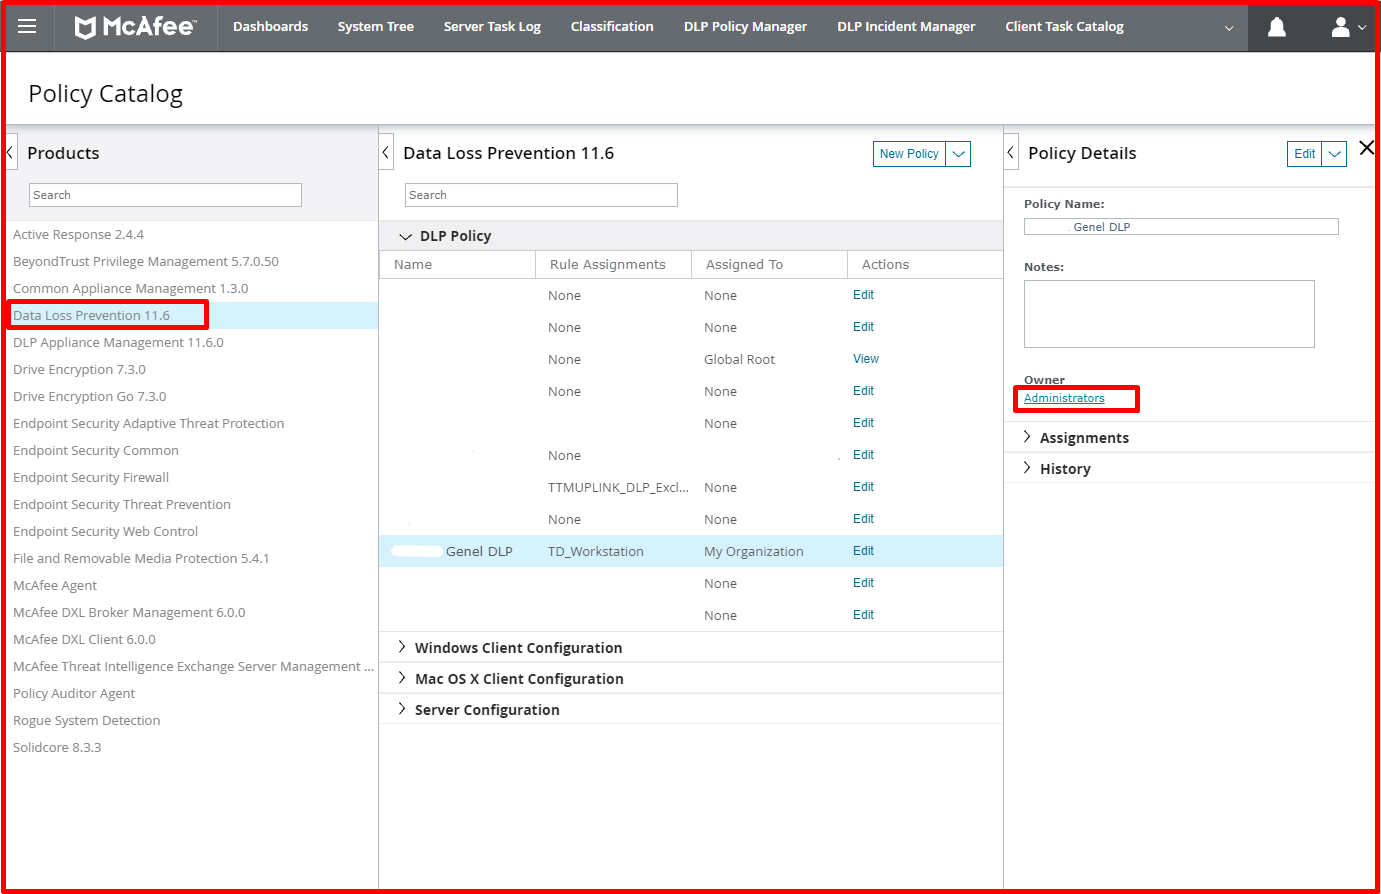
On the “Policy Catalog” page, we click on the “Data Loss Prevention 11.6” option. Here we choose the DLP policy we use. Click on the “Administrator” option in the “Owner” option on the right.
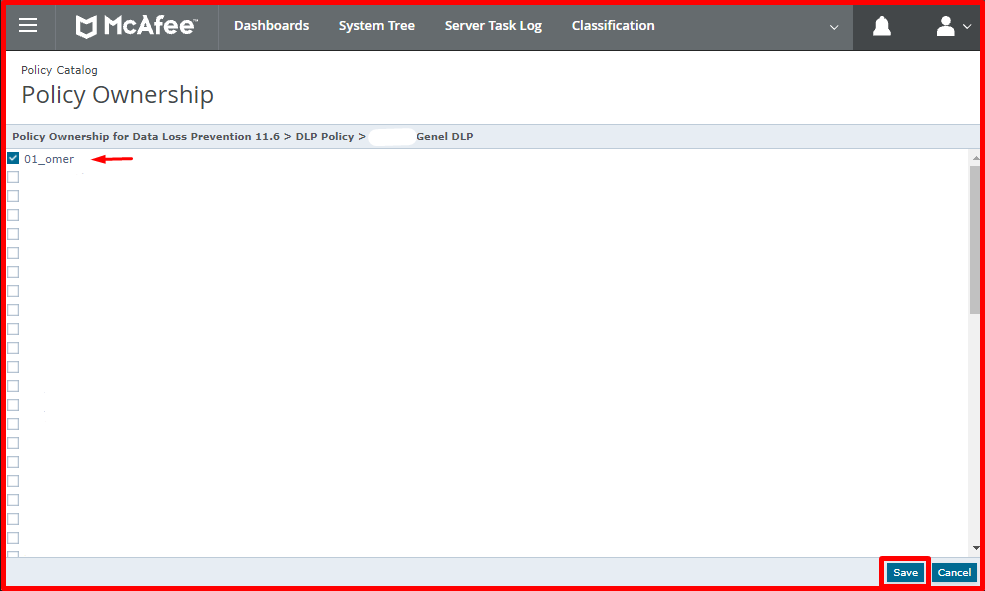
We select the user “01_omer” that we created on the “Policy Ownership” page. Click the “Save” button.
The “01_omer” user we have chosen as the owner is as seen below.

Login to “McAfee ePolicy Orchestrator”
We log in to “ePolicy Orchestrator” with the user we created.

We can see a limited number of categories on the screen as a result of the authorizations we have given for the user we have created. Here you can see the DLP admin authorizations we have given in the “Menu” tab.
