by
by Splunk is a SIEM (Security Information and Event Management) solution that collects logs from various sources (server, network devices, applications, etc.), stores (indexes) the collected logs, and provides search, research, analysis and correlation on the stored logs. With its simple logic, Splunk works with the forwarder, indexer and master structure. Splunk can be used for free up to a certain 500 MB value.
How to Download Splunk?
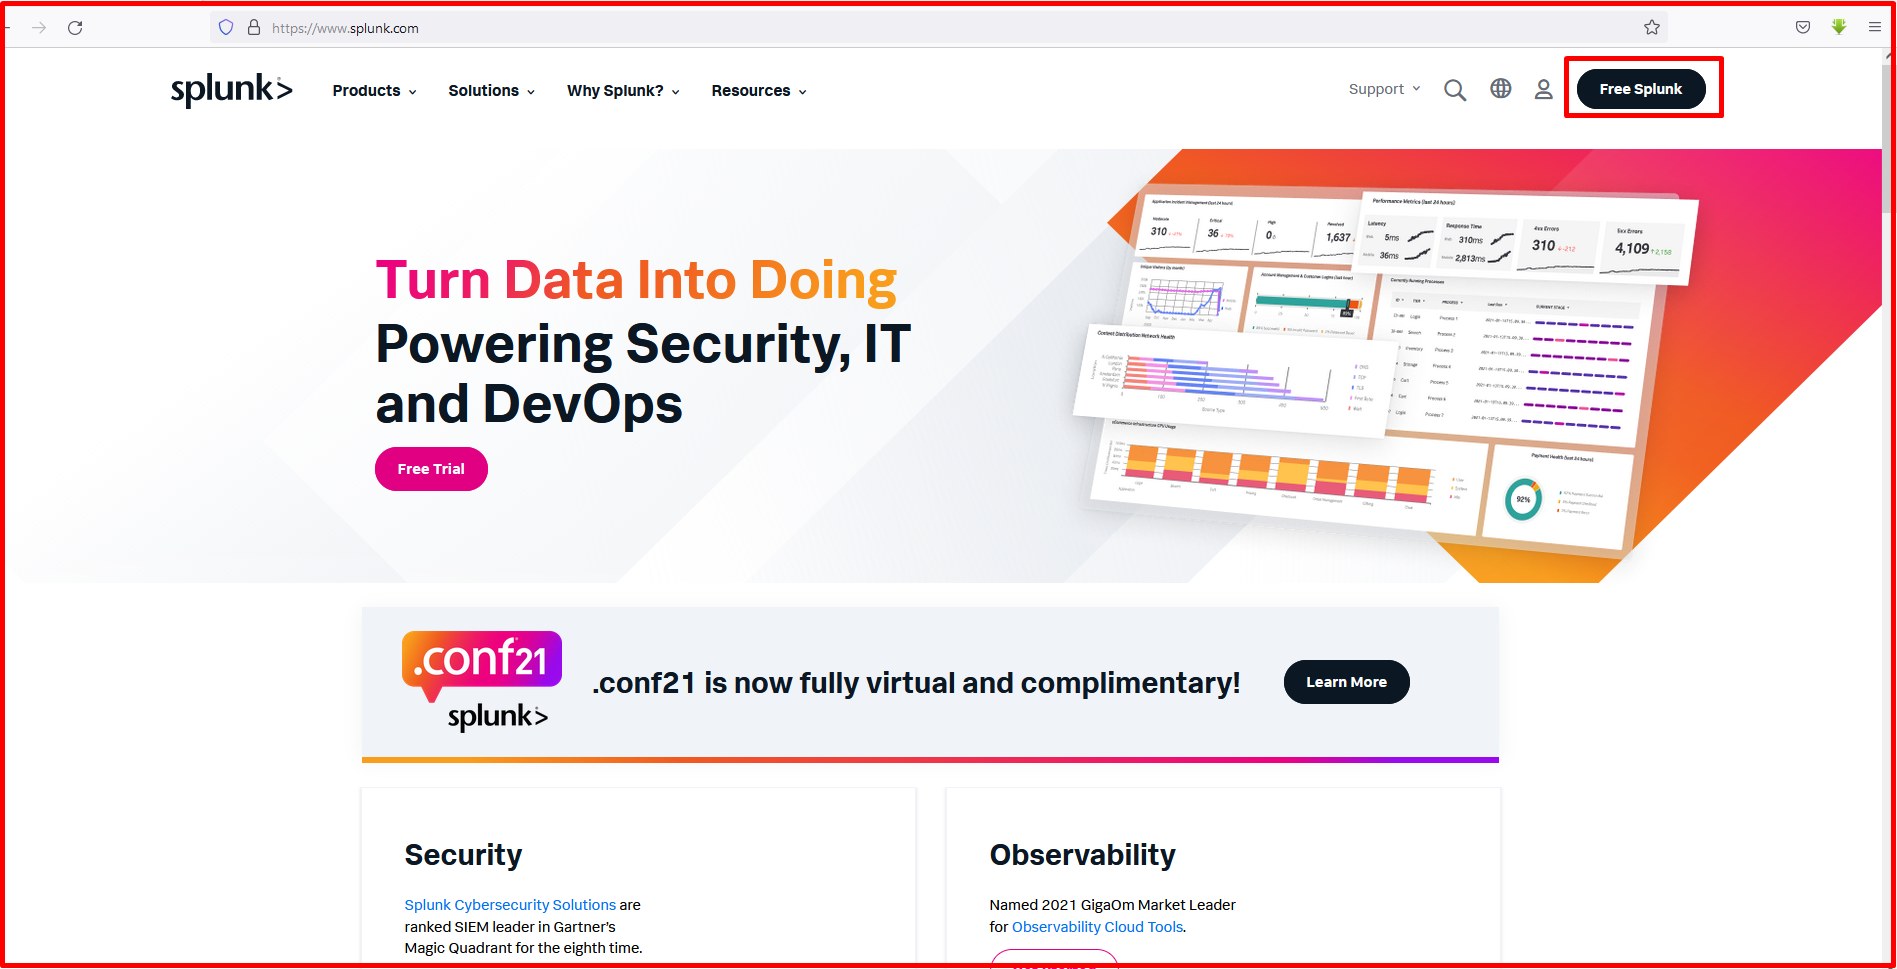
We will perform these installation processes in Ubuntu. Sign up and log in to the Splunk site.
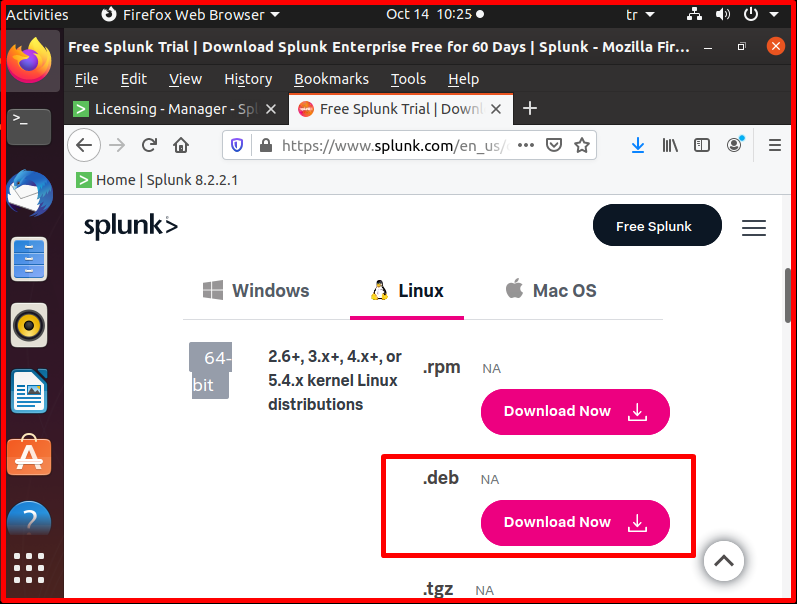
Then, the packages according to the operating systems are seen as follows. You can choose the one that suits you. Since we will install on Ubuntu, we download the package with the .deb extension from the Linux tab.
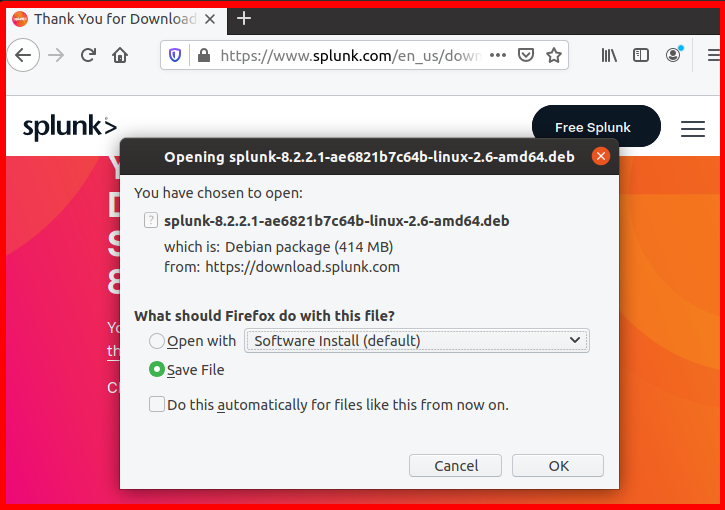
We mark the “Save File” tab and click the “OK” button to save.
How to Install Splunk?
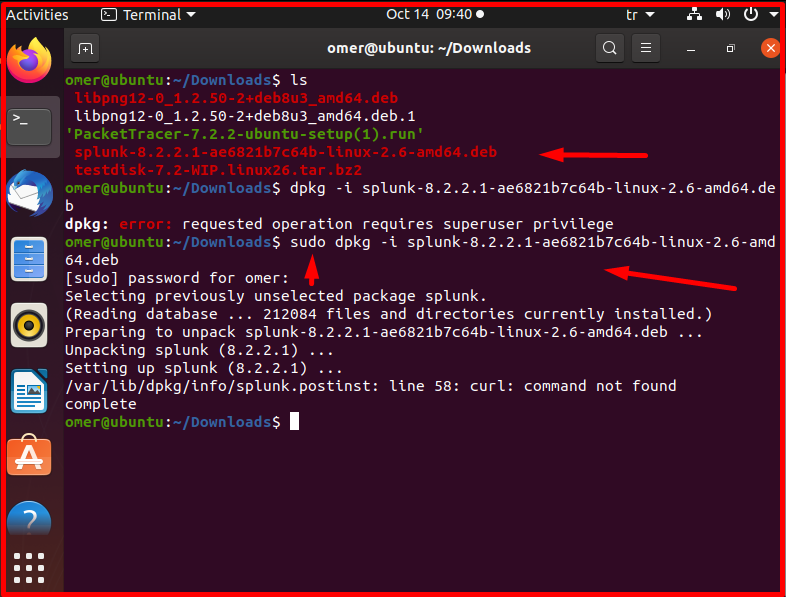
We will perform these installation processes in Ubuntu. After the download is finished, we install it with the following command.
sudo dkpg -i splunk-8.2.2.1-ae6821b7c64b-linux-2.6-amd64.deb
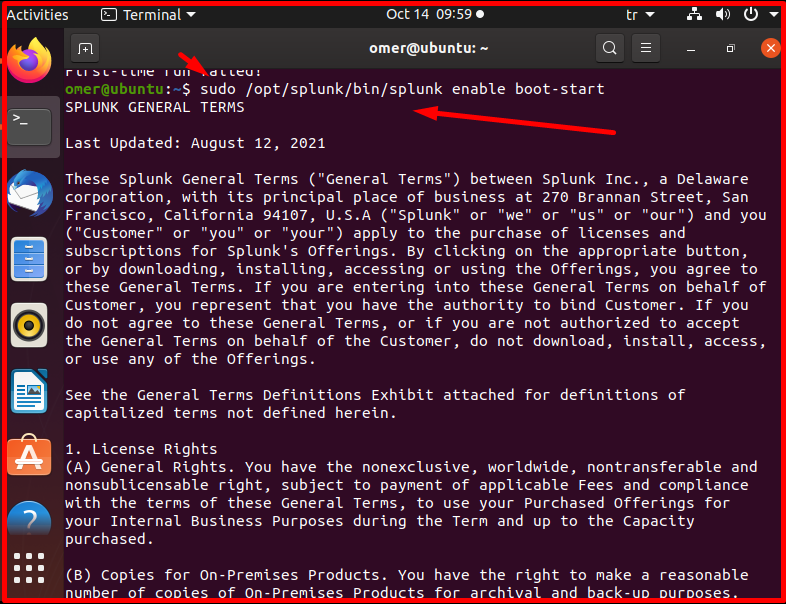
We start the command “/opt/splunk/bin/splunk enable boot-start”. Some questions such as the usage agreement are asked on the screen. We pass the keyboard by pressing the Tab key or the enter key a few times.
sudo /opt/splunk/bin/splunk enable boot-start
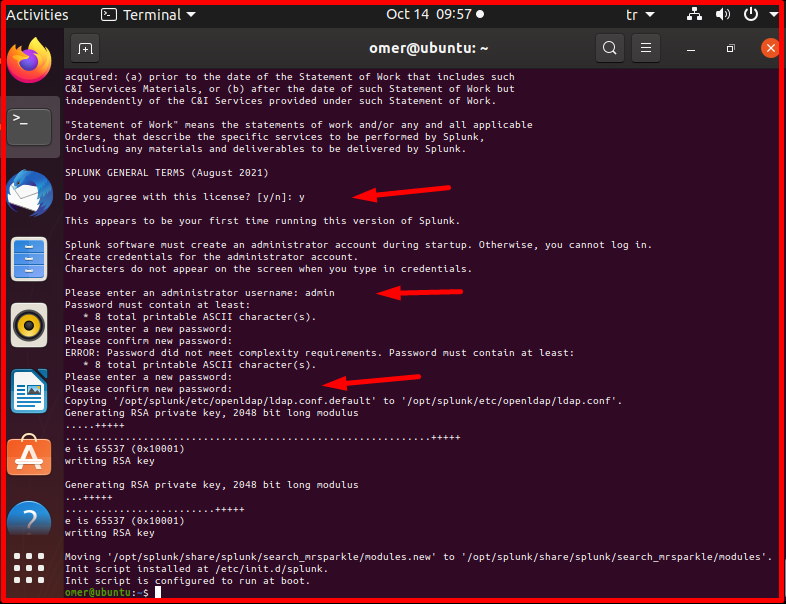
When WebGUI asks for a username and password, we complete the installation quickly by entering this information.
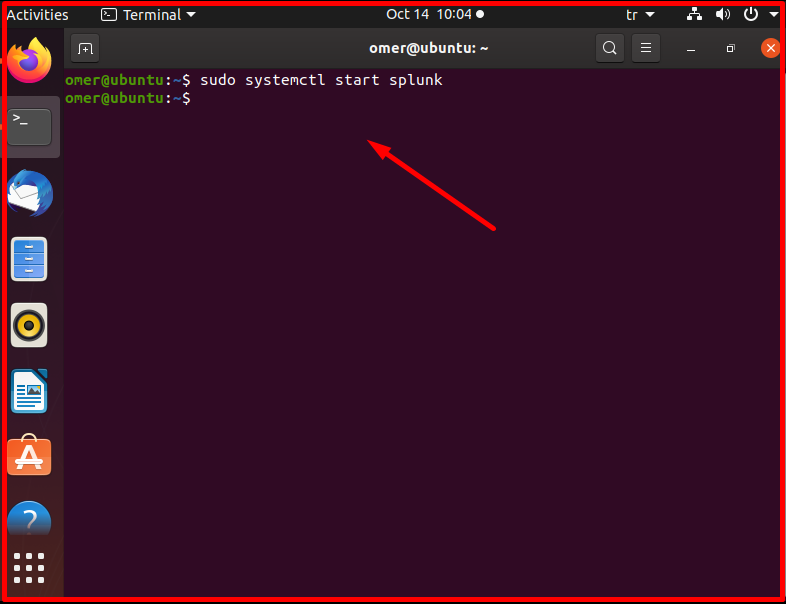
We start the Splunk service with the following command.
sudo systemctl start splunk
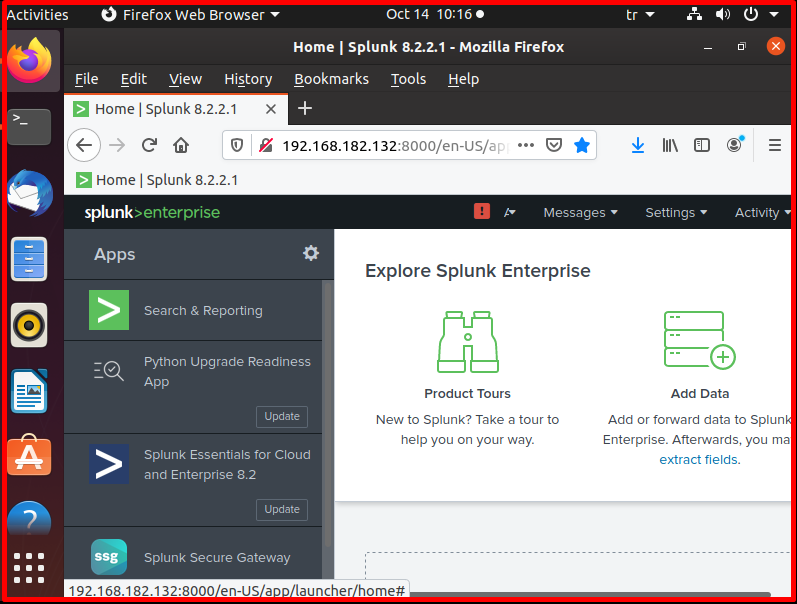
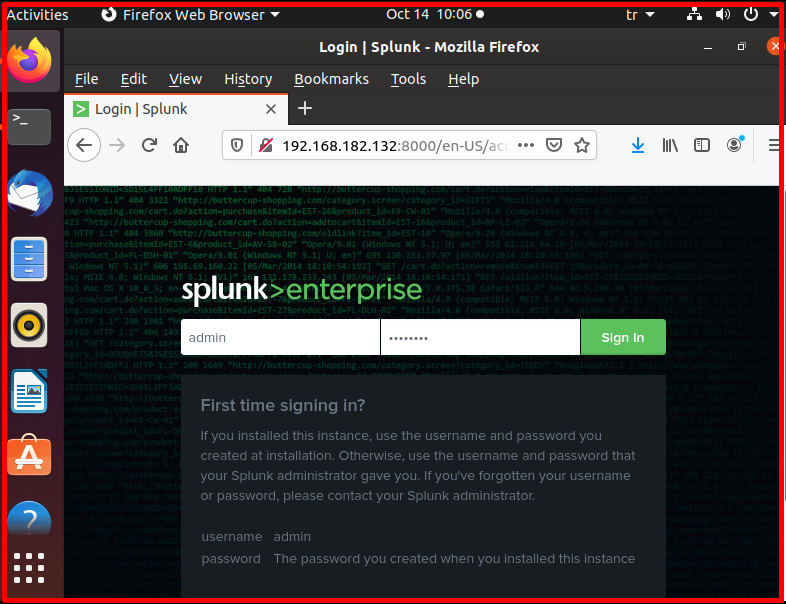
The installation ends here. We access the Splunk interface by pasting the address below into our browser. Enter the username and password we created.
http://server ip address:8000
On the incoming screen, “Got it!” we click the button.
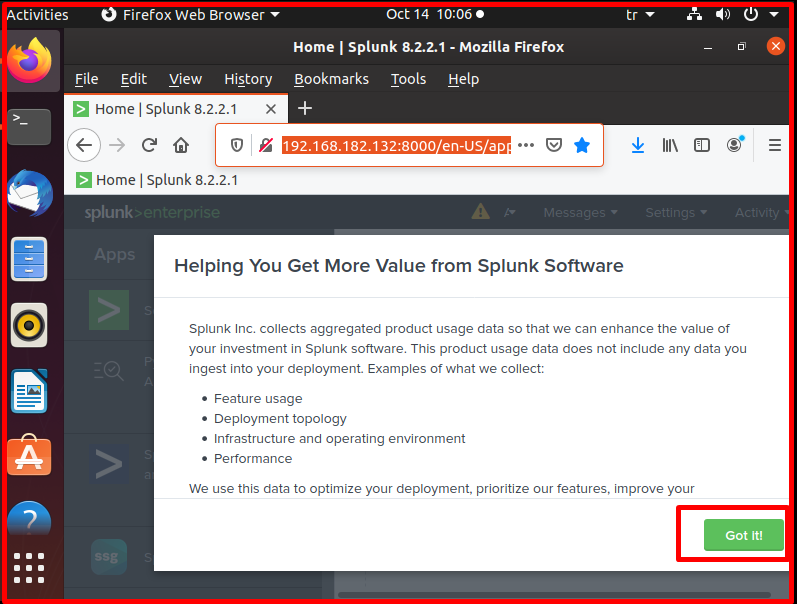
As you can see, the Splunk page is in front of us.